 JD Presents | Development In Reach
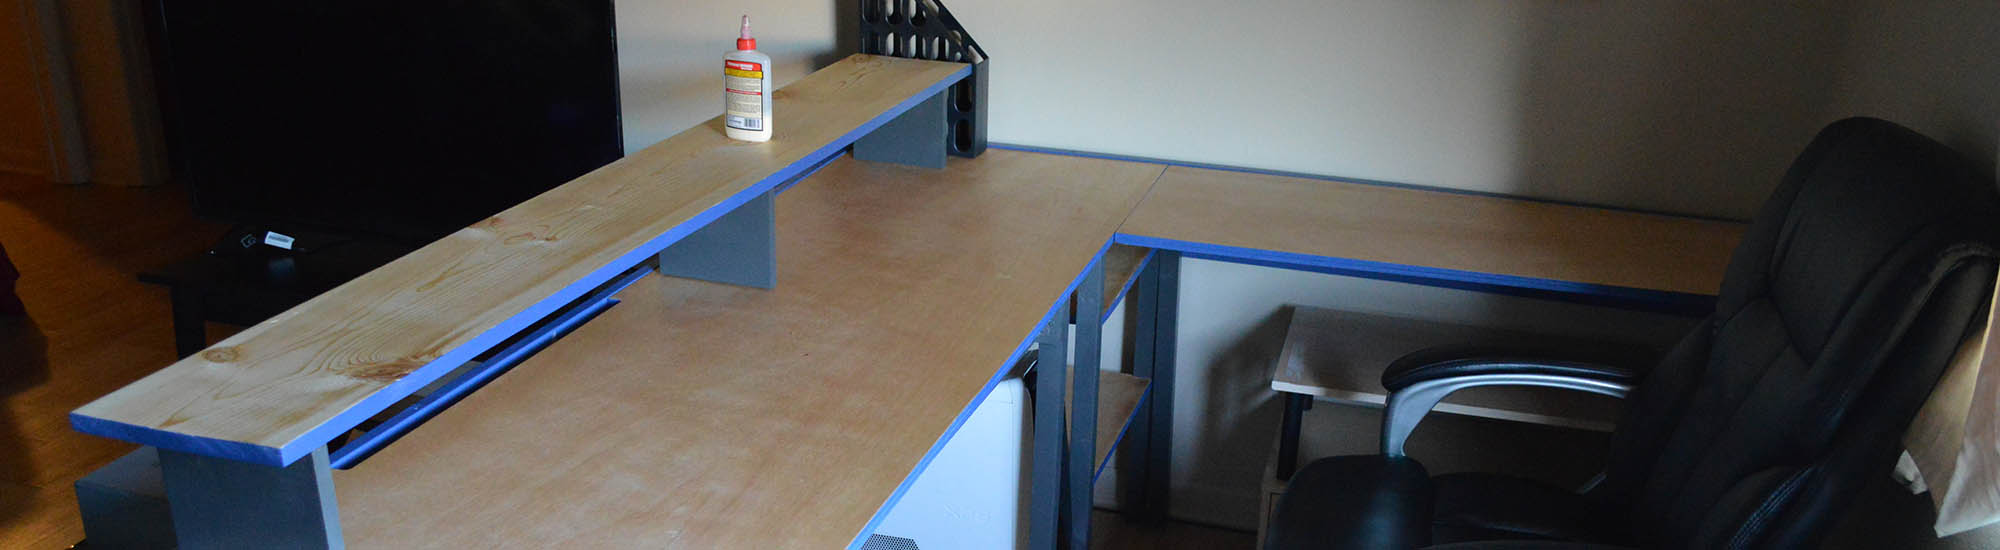
New Desk
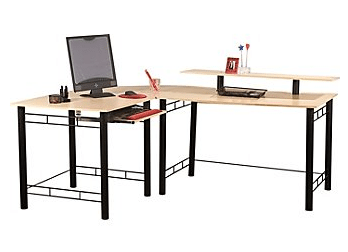
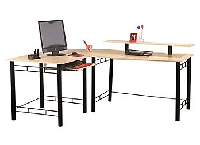
A couple of years ago, I had a desk that I truly enjoyed but lost in a move. It basically took up half the wall and it worked great. It started out as the Gemini Workstation from Office Max, but I adapted it to my living space to open the room up. Instead of an L shape, I straightened it to go along the wall.
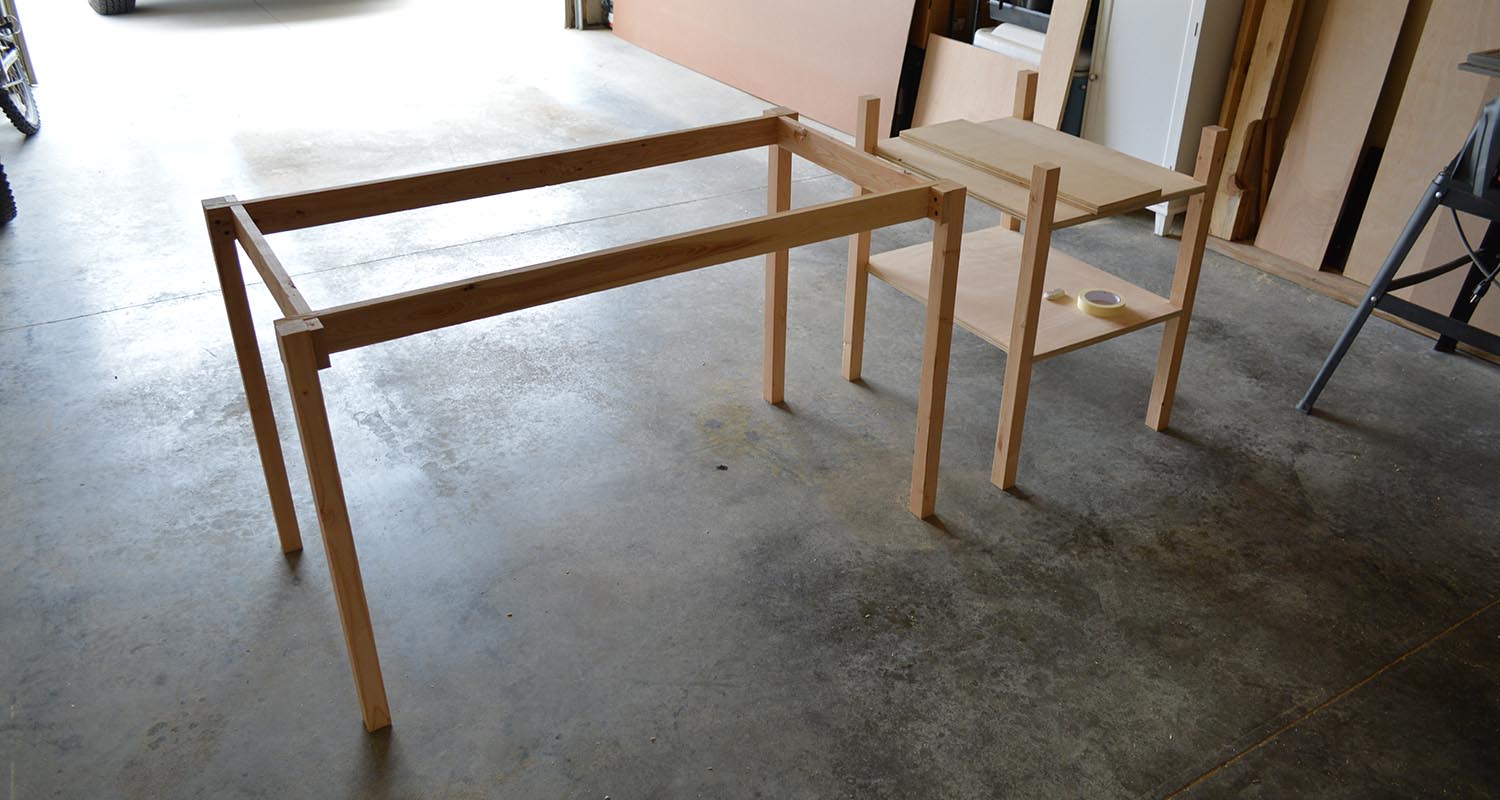

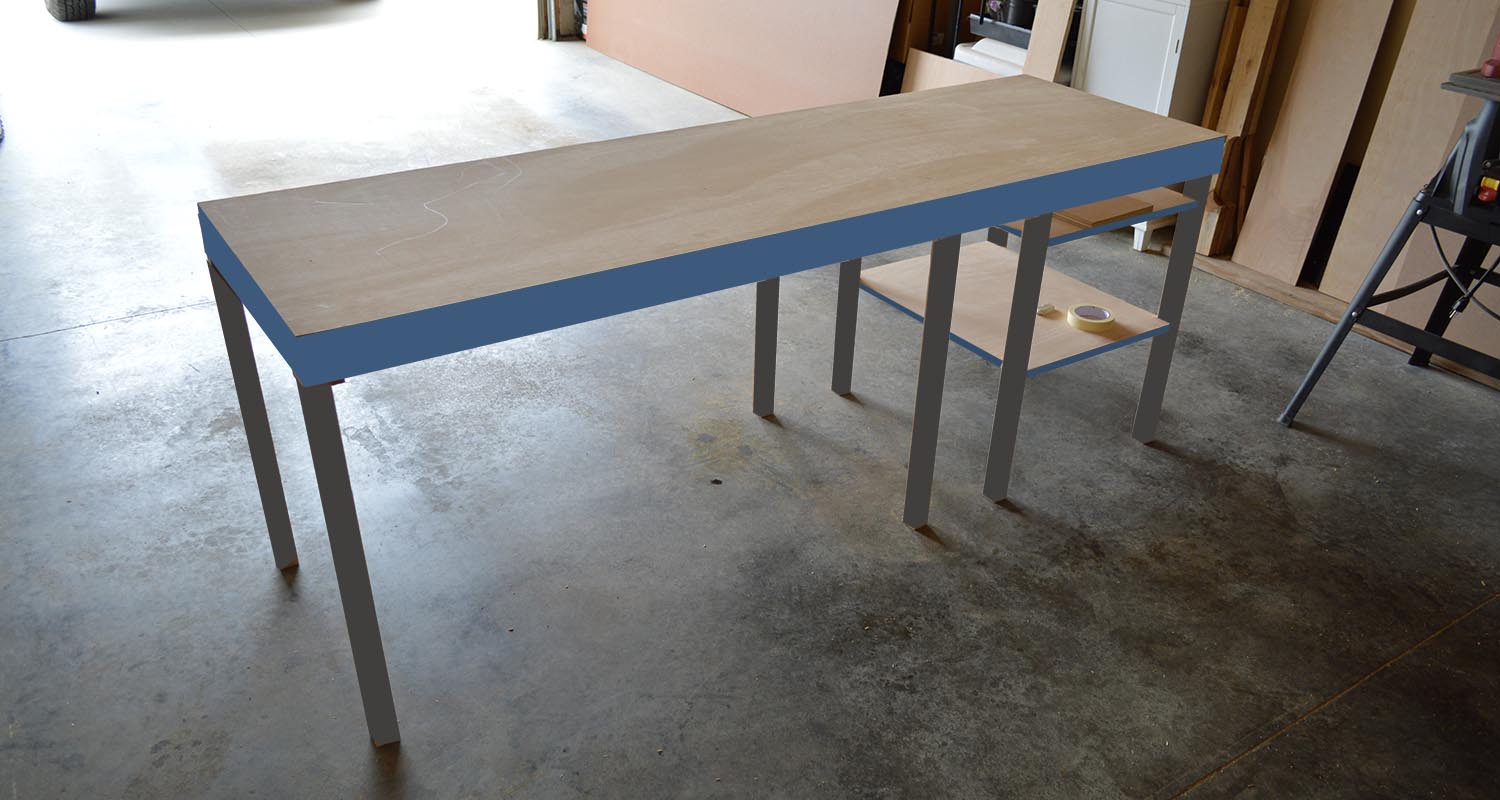

This time around, I wanted to build my perfect workspace with the ability to grow later. I started out with a basic L shape that I like because it keeps everything within reach. My projects, soldering station, tools, whiteboard, papers, everything I use to create. There were a couple things that were a must, it had to have a shelf for my monitors, a space for all my part bins, space for desktop equipment, keep wires nice and neat, be able to be disassembled and assembled again, upgradeable, and be able to hide all the wires.
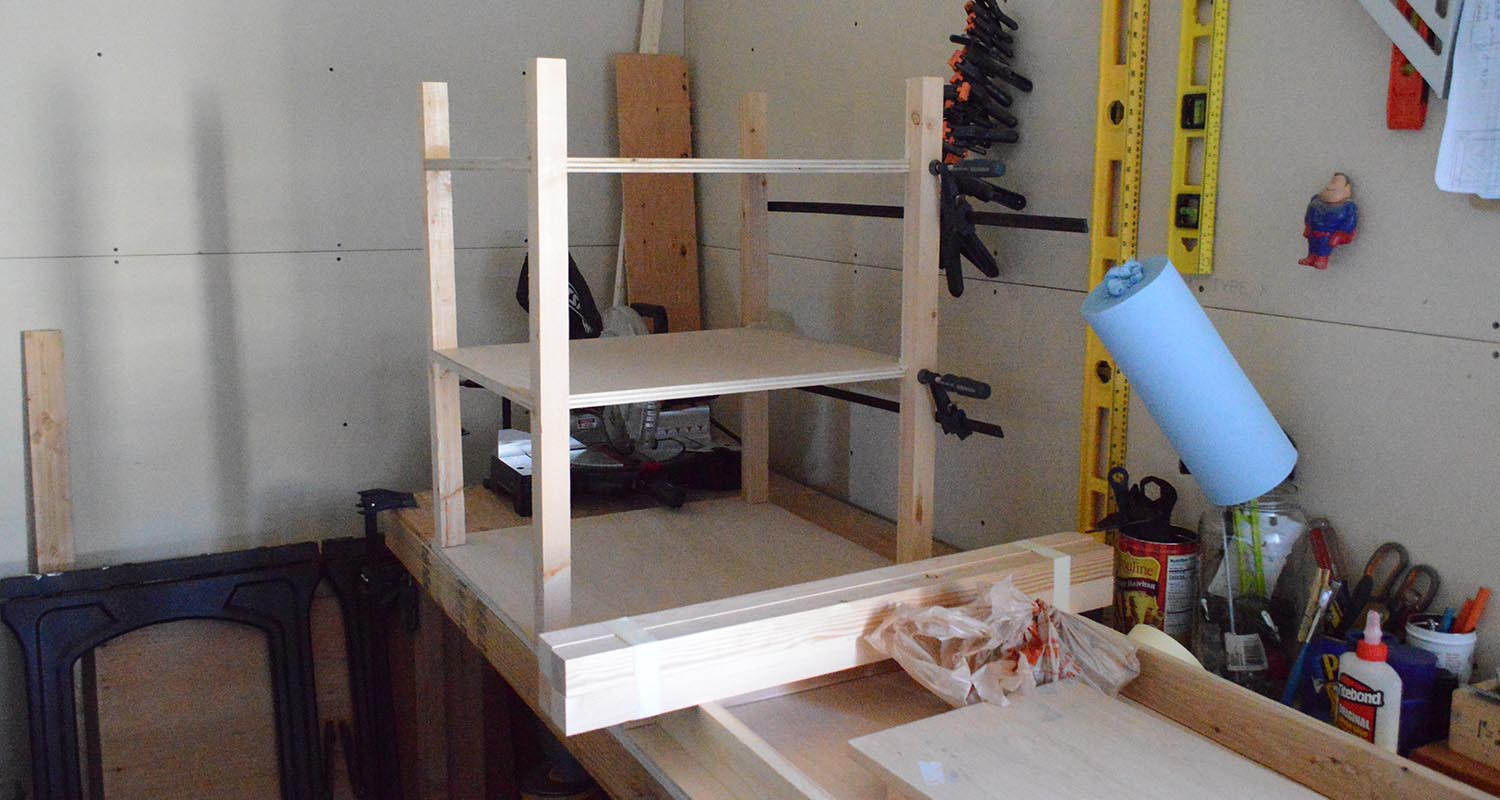
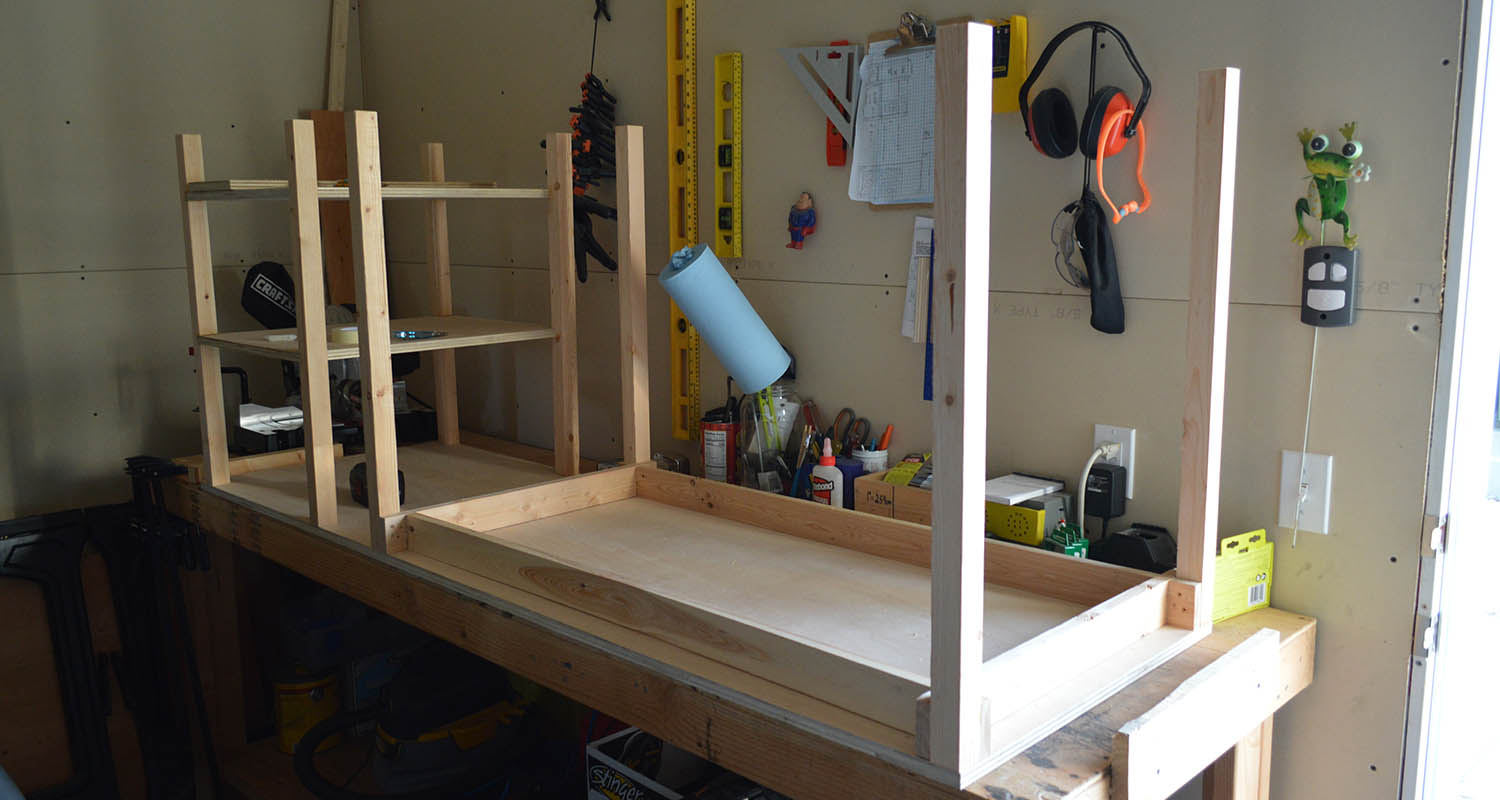
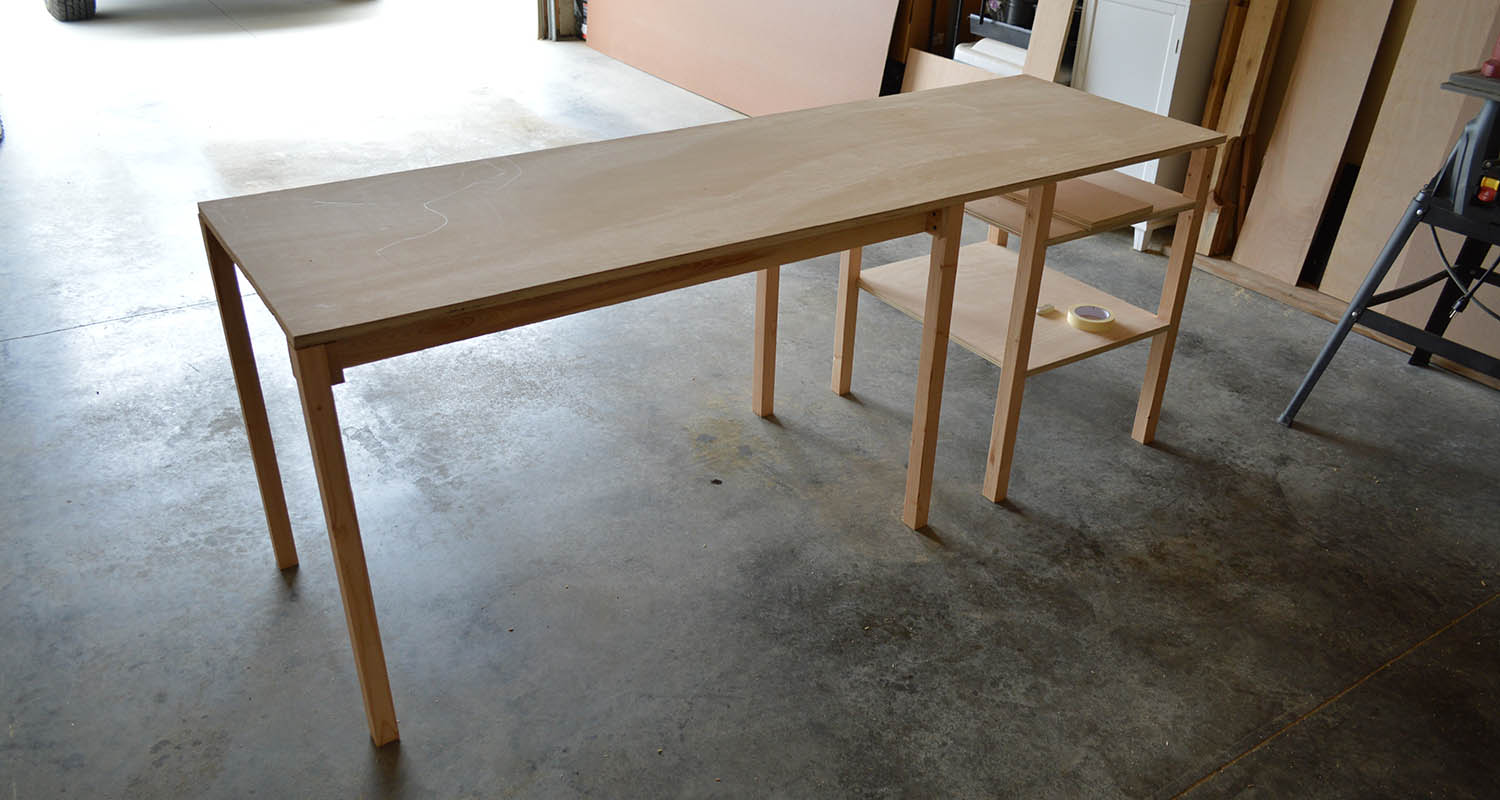
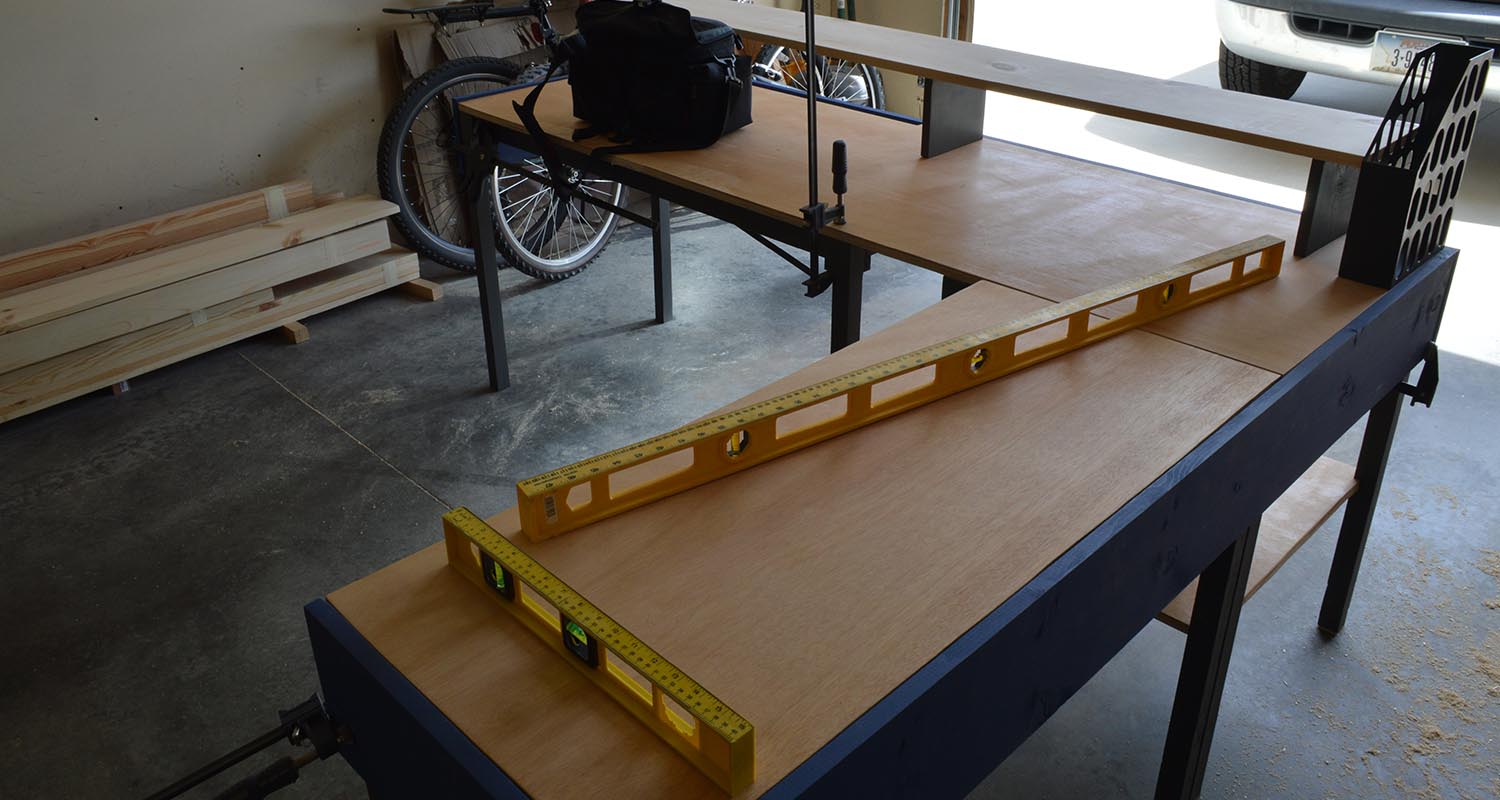
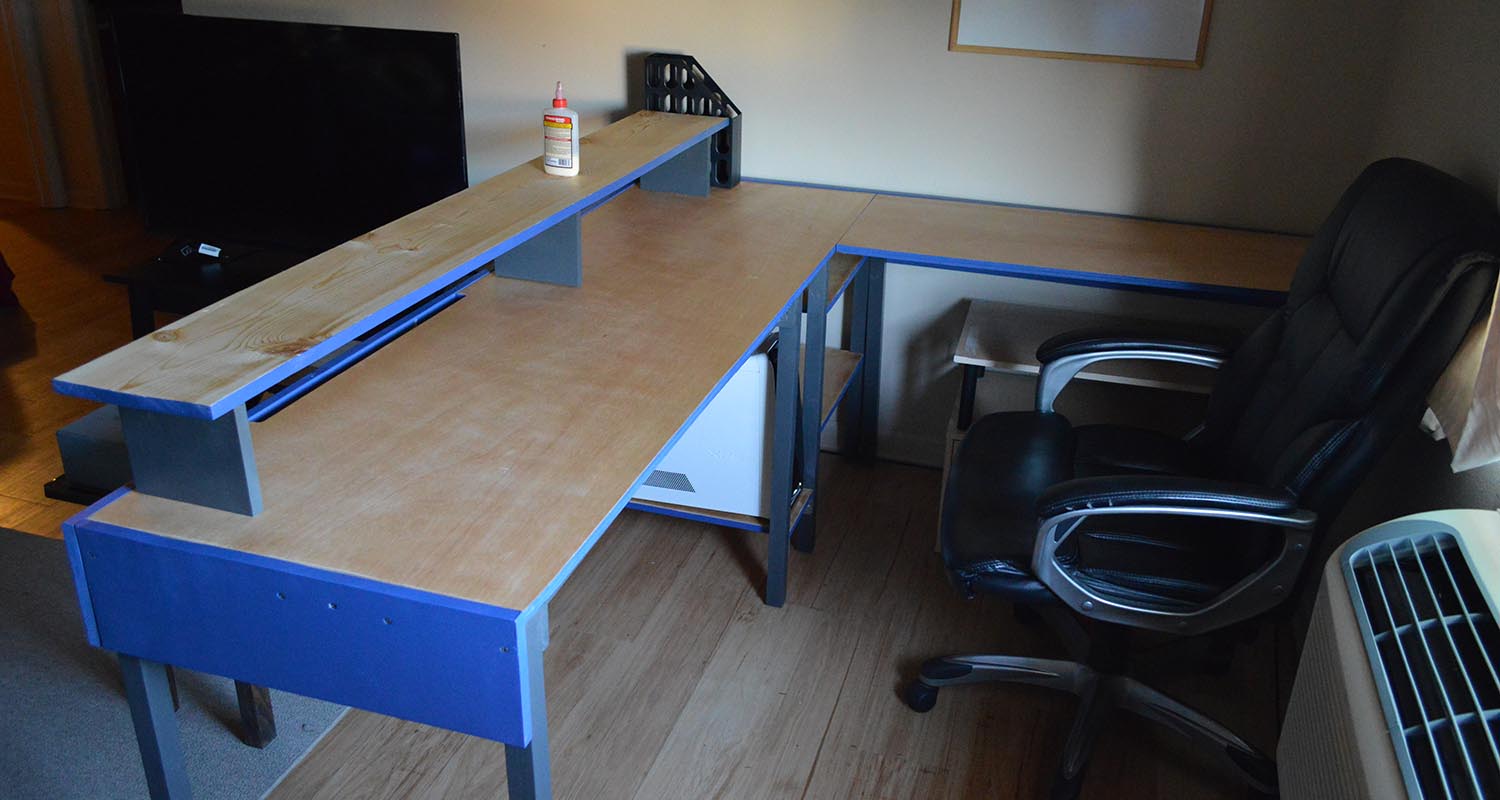
I started with a 6’ x 2’ foot with a shelf that ran the length for my main work space, and then there was a 42x18 inch return that connected to make an L-shaped work area, which holds part bins and tools like soldering station and the old Gemini filing system underneath. Yes, 16 years later and I still have some of that desk. I also created shelving for board projects and other storage, and of course, a designated space for my computer.
This time around, I wanted to build my perfect workspace with the ability to grow later. I started out with a basic L shape that I like because it keeps everything within reach. My projects, soldering station, tools, whiteboard, papers, everything I use to create. There were a couple things that were a must, it had to have a shelf for my monitors, a space for all my part bins, space for desktop equipment, keep wires nice and neat, be able to be disassembled and assembled again, upgradeable, and be able to hide all the wires.
I started with a 6’ x 2’ foot with a shelf that ran the length for my main work space, and then there was a 42x18 inch return that connected to make an L-shaped work area, which holds part bins and tools like soldering station and the old Gemini filing system underneath. Yes, 16 years later and I still have some of that desk. I also created shelving for board projects and other storage, and of course, a designated space for my computer.
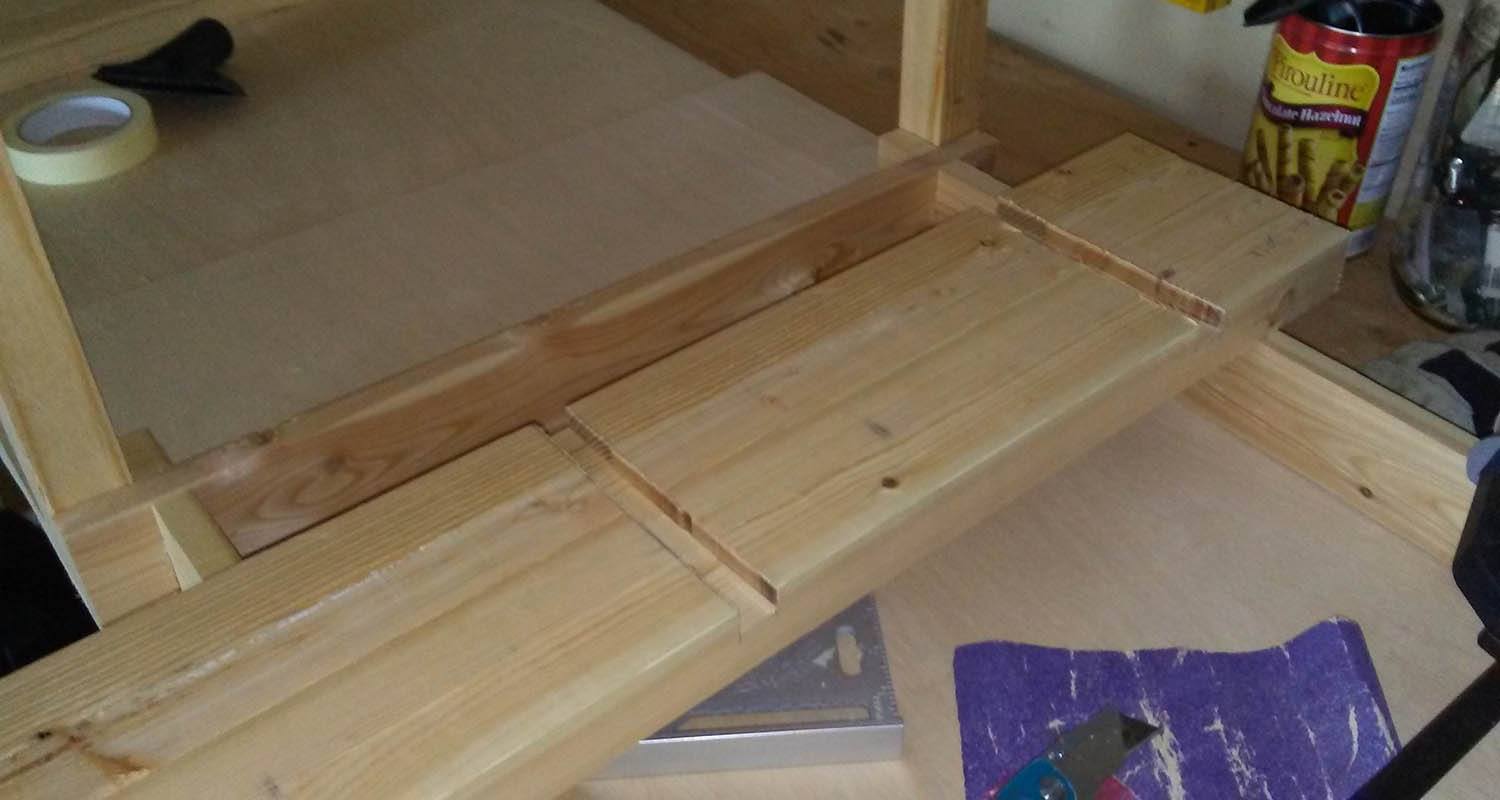
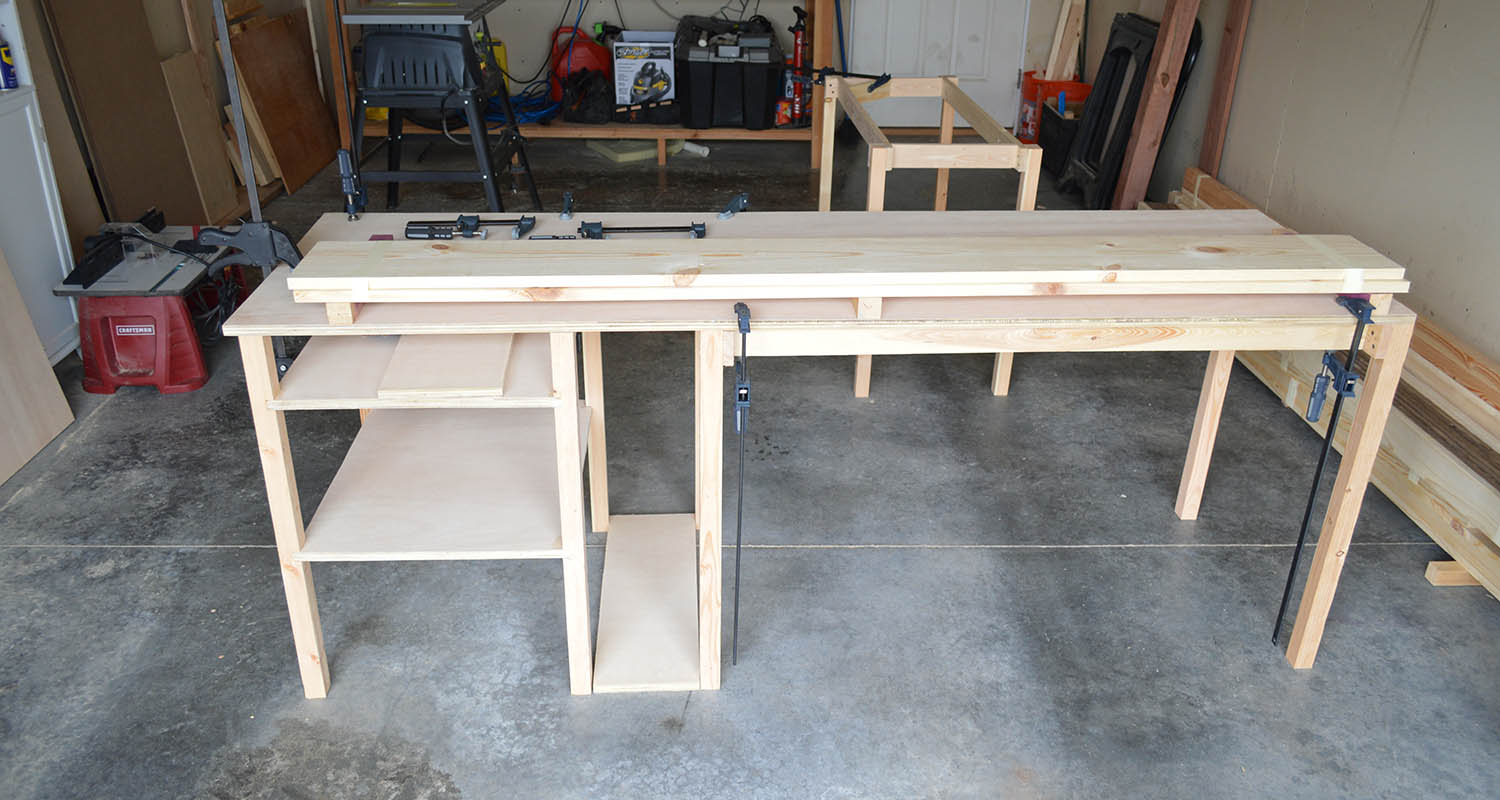
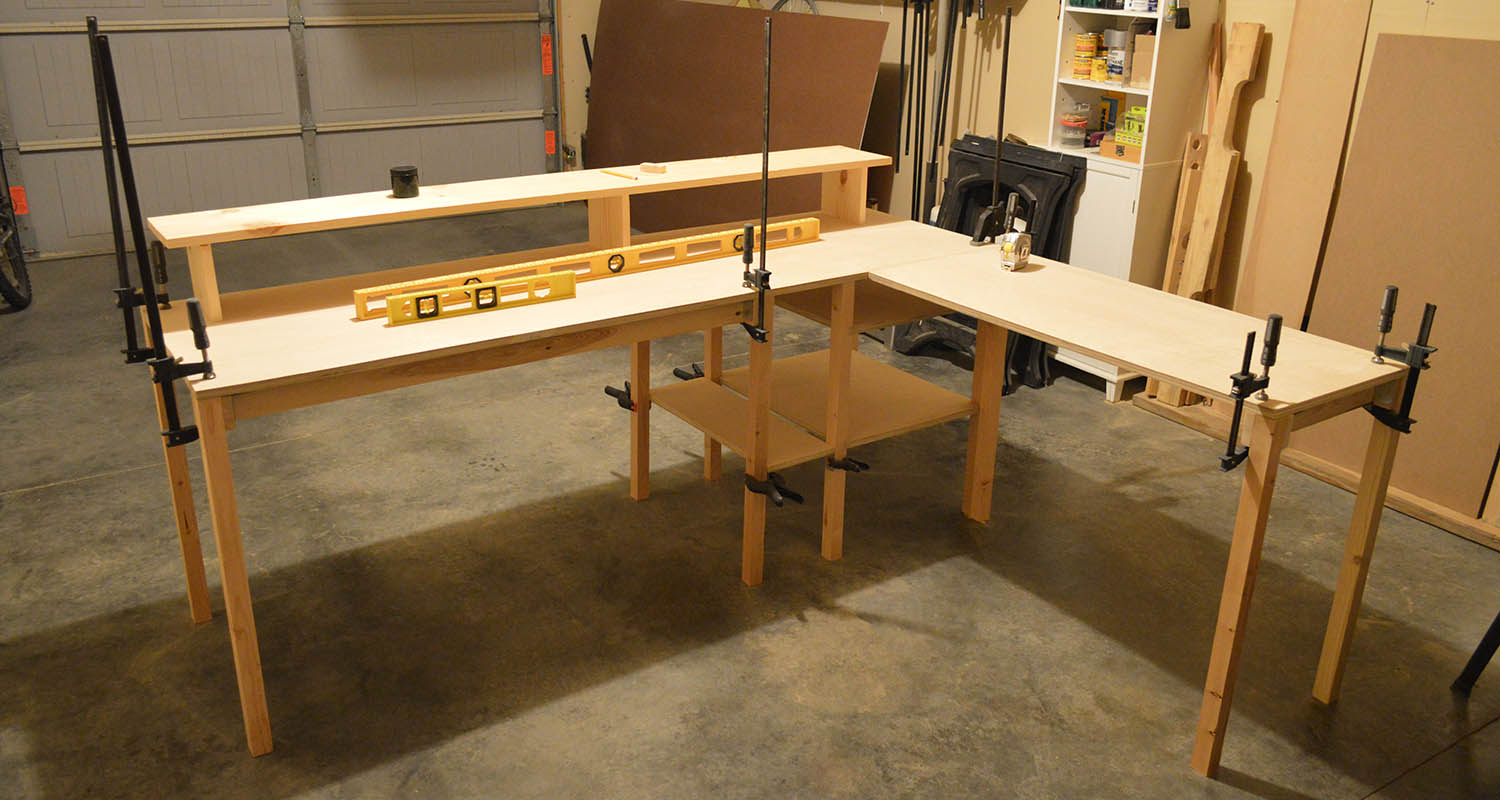
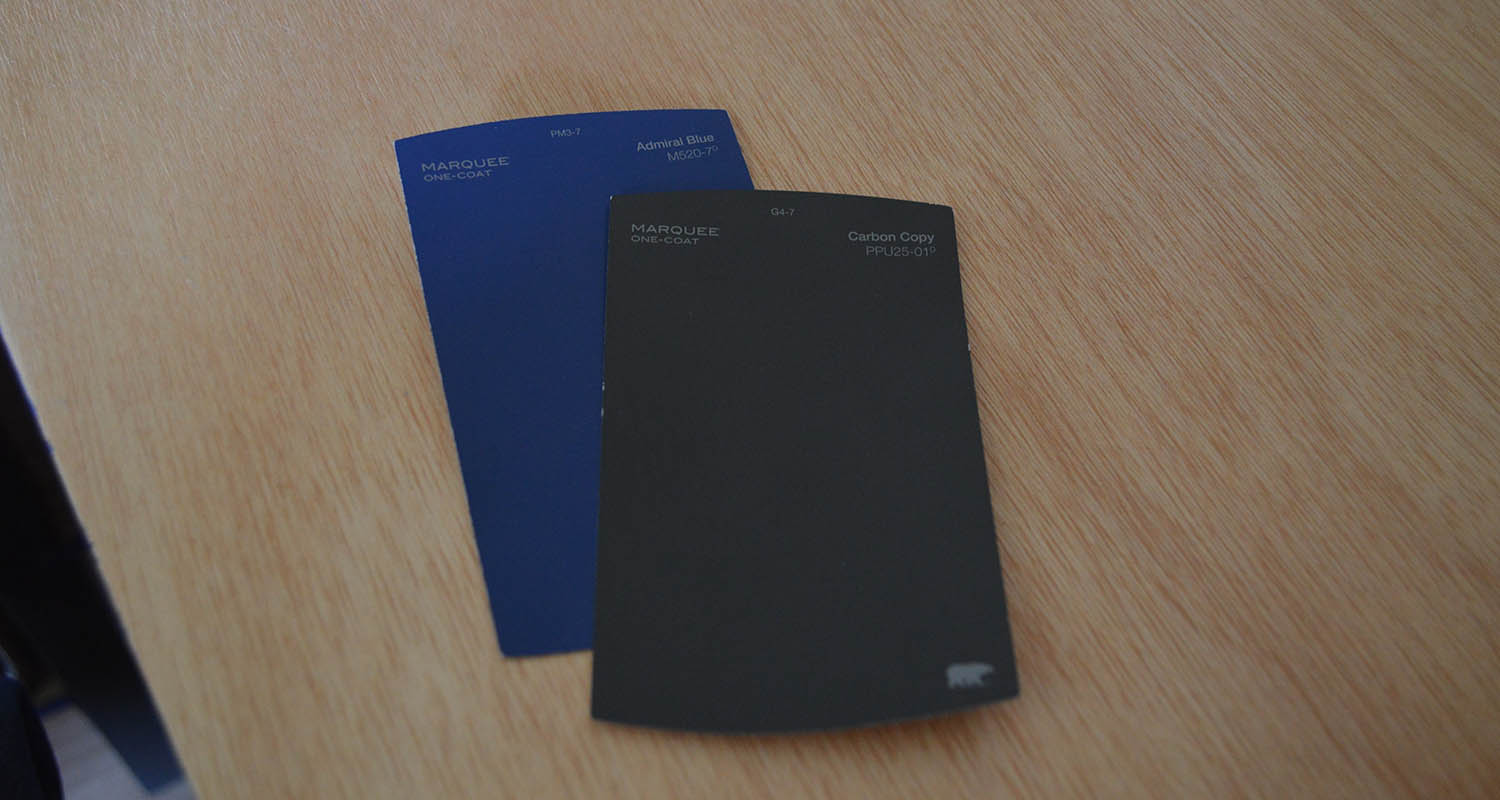
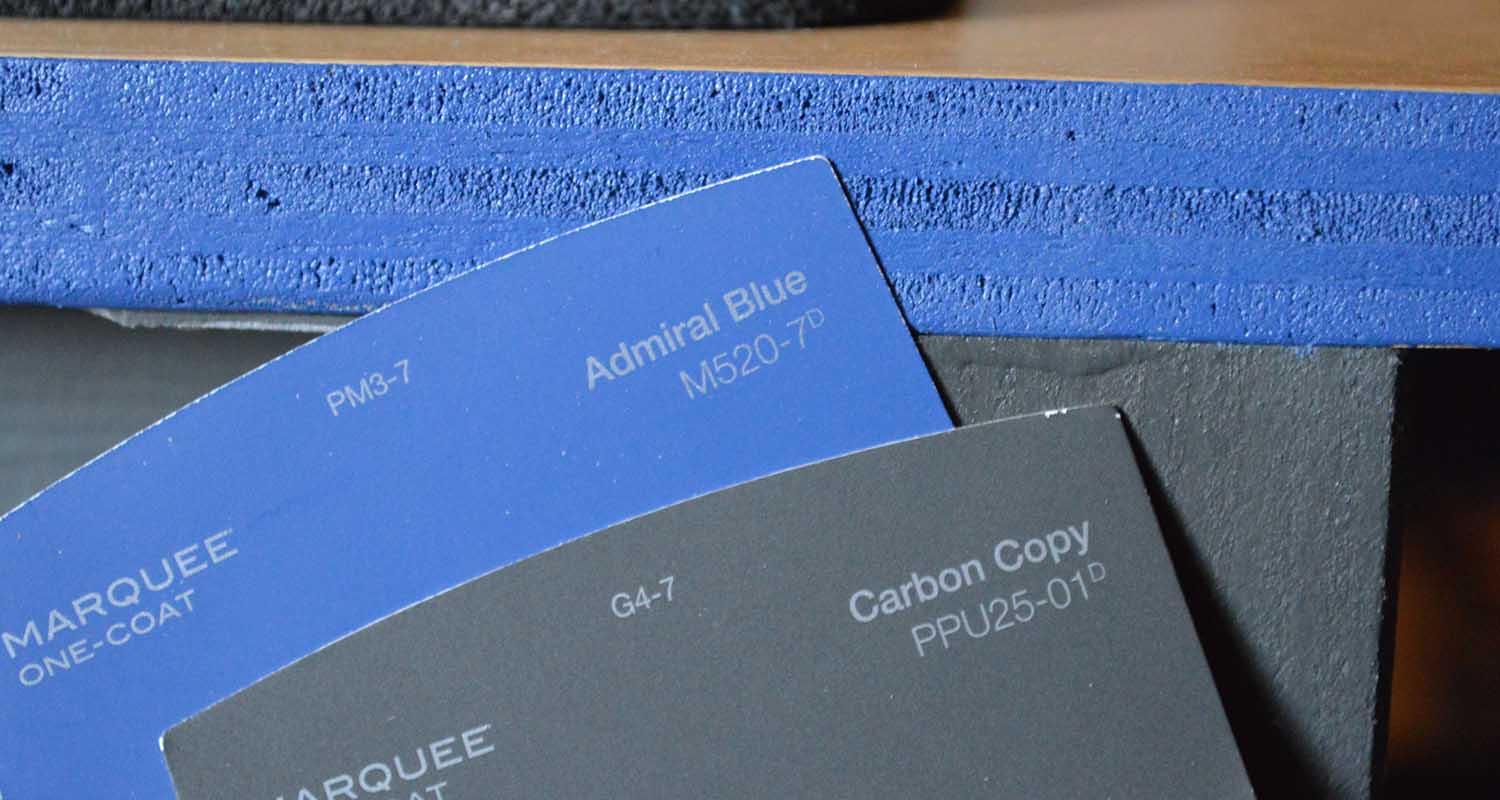
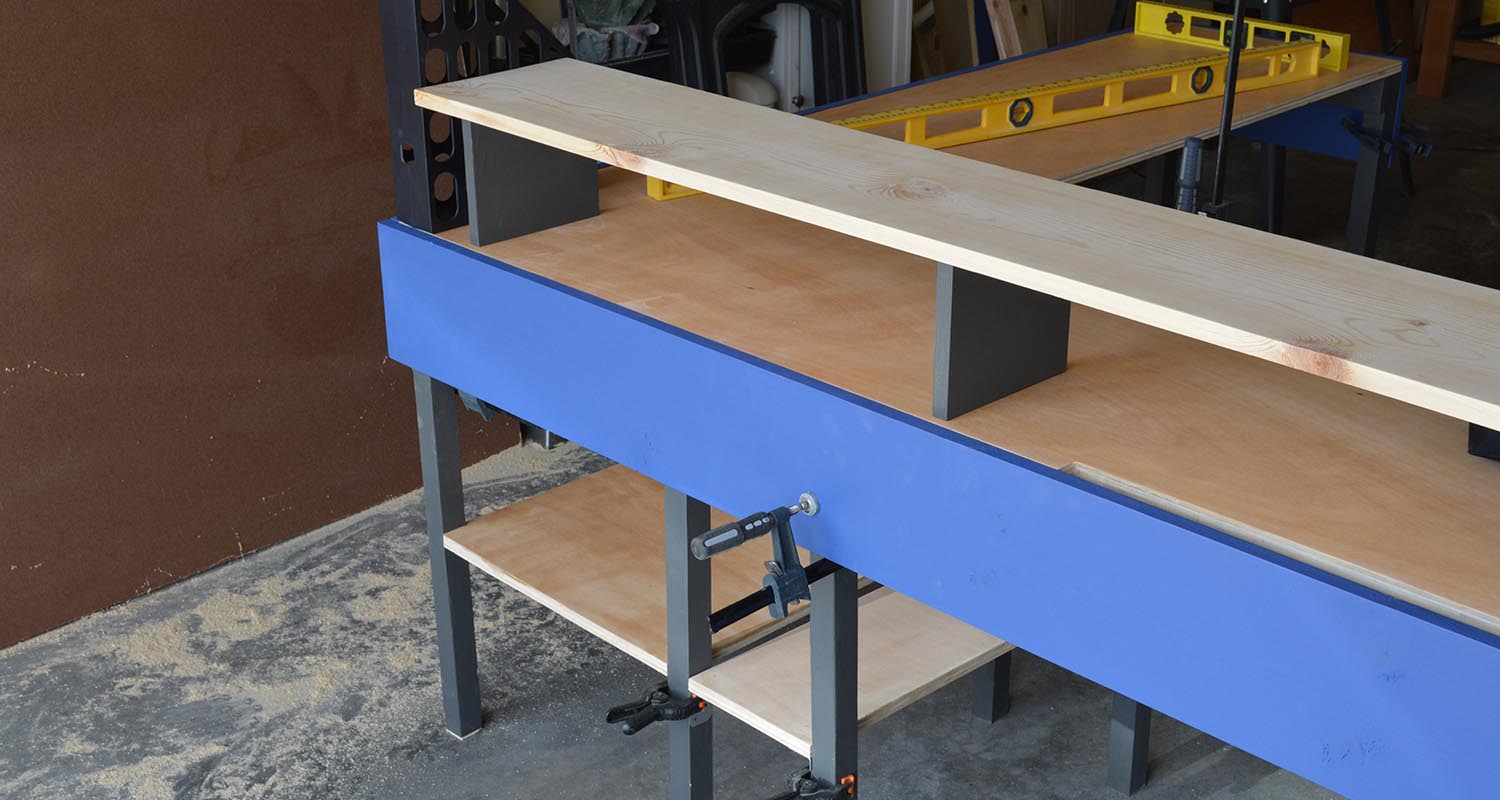
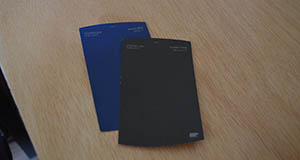
The hardest part of this build for me was the skirt that wrapped the desk. I attached that because it’s an easy way to hide all the wires between the frame and the outside. To be honest, it fought me the whole way, and I almost removed it and went a different direction, but Im glad I kept at it and made it work. I selected some colors that I found on Behr color selection website. I have normally used stains for my woodworking projects but wanted to do paint for this project because I originally wanted to use the blue that I use for my websites (#336699). The number 369 is a common number I’ve used throughout the years, and I learned it is was also a cool blue (my favorite color) in hexadecimal; it became a staple in all my websites. I used photoshop like I did with my desk

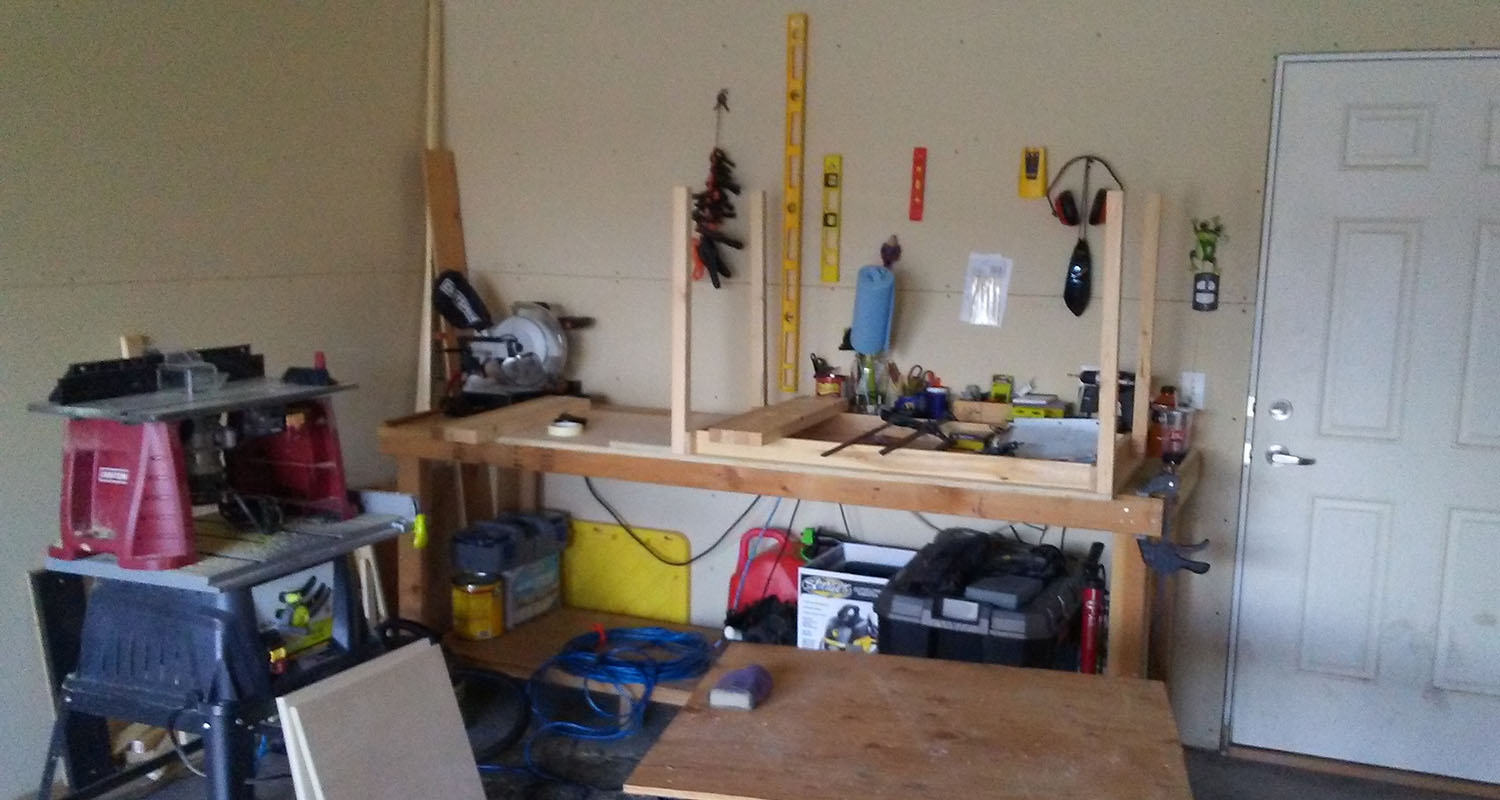
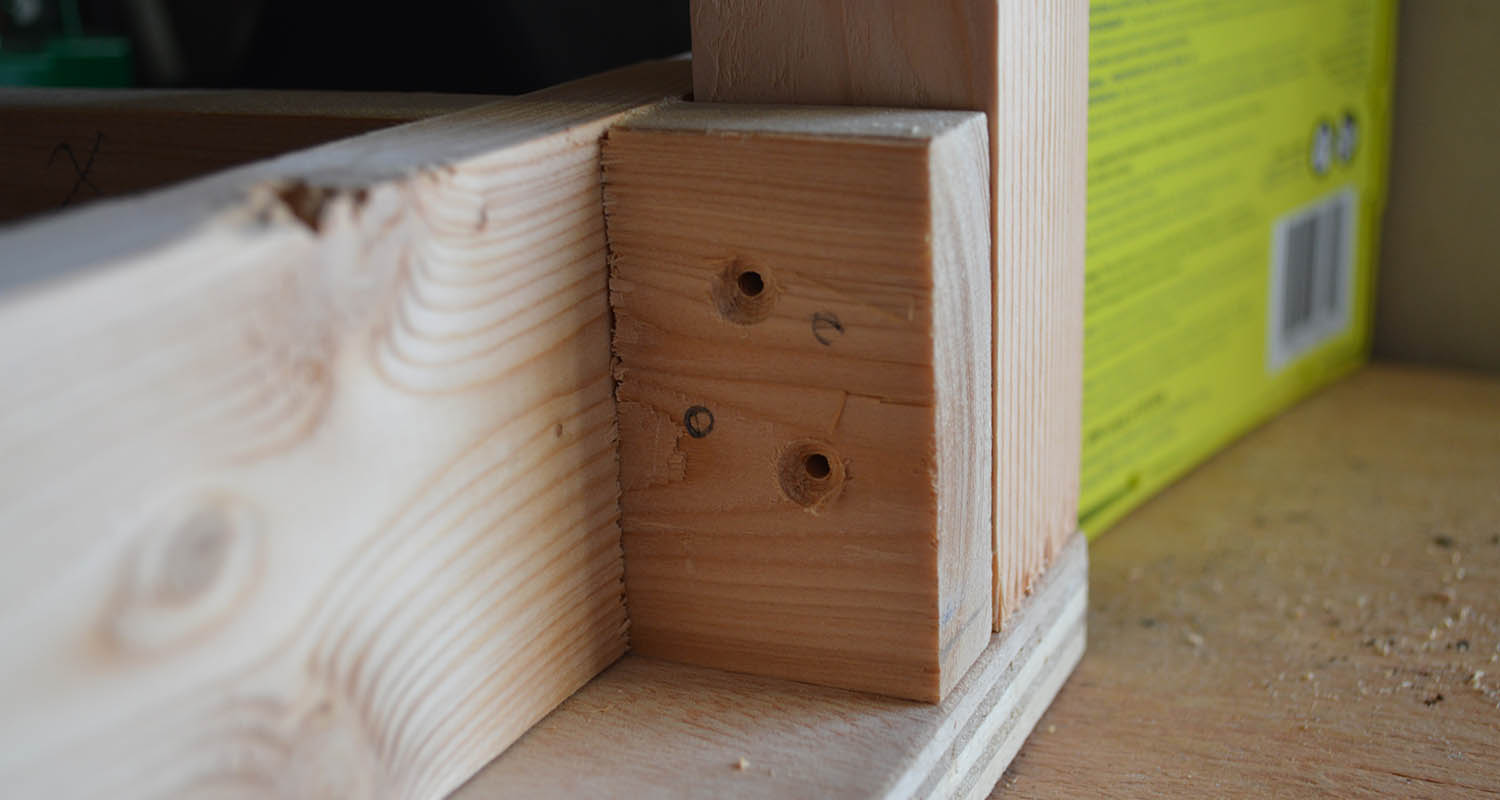
It took about a week to finish; one of my “needs improvement areas” is accurately determining dry times. Dry times took longer than I had hoped but it came out how I imagined from the start, which made me happy. This is the largest furniture piece I’ve built from scratch; I learned a lot about my tools, mainly their limitation for working with large pieces, but new methods to use to overcome those limitations. As always for any project with paint, stain, or extra wood protection, tape, tape, tape; don’t be afraid to use tape for various things. I keep a stockpile of various tapes and sizes because I use it for many things. I should do a 1001 uses like I did for WD-40 and feature the amazing uses of tape.
Difficulty:
I give this project 3 stars because as difficult as it was, and by that I mean, being the physical moving and working with those pieces with power tools in a safe manner, there wasn’t any massive learning curves required. Having a plan on paper to start out with made things easier and let me setup next steps accordingly. I think I would add another layer or 2 of clear coat to the top of the workspace, but I didn’t want there to be a plastic feel, I like the tactile feel of wood grain.