 JD Presents | Development In Reach
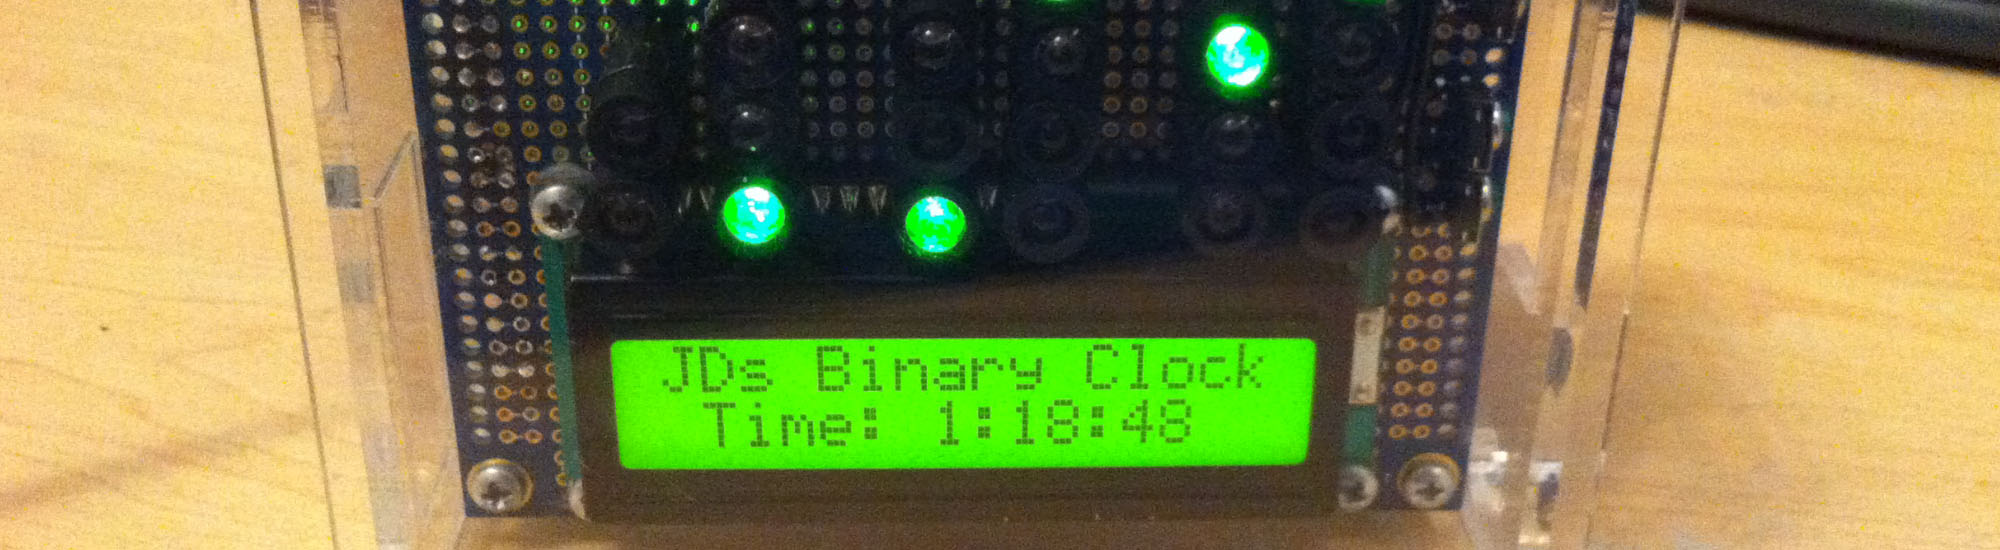
Weather Station & Binary Clock
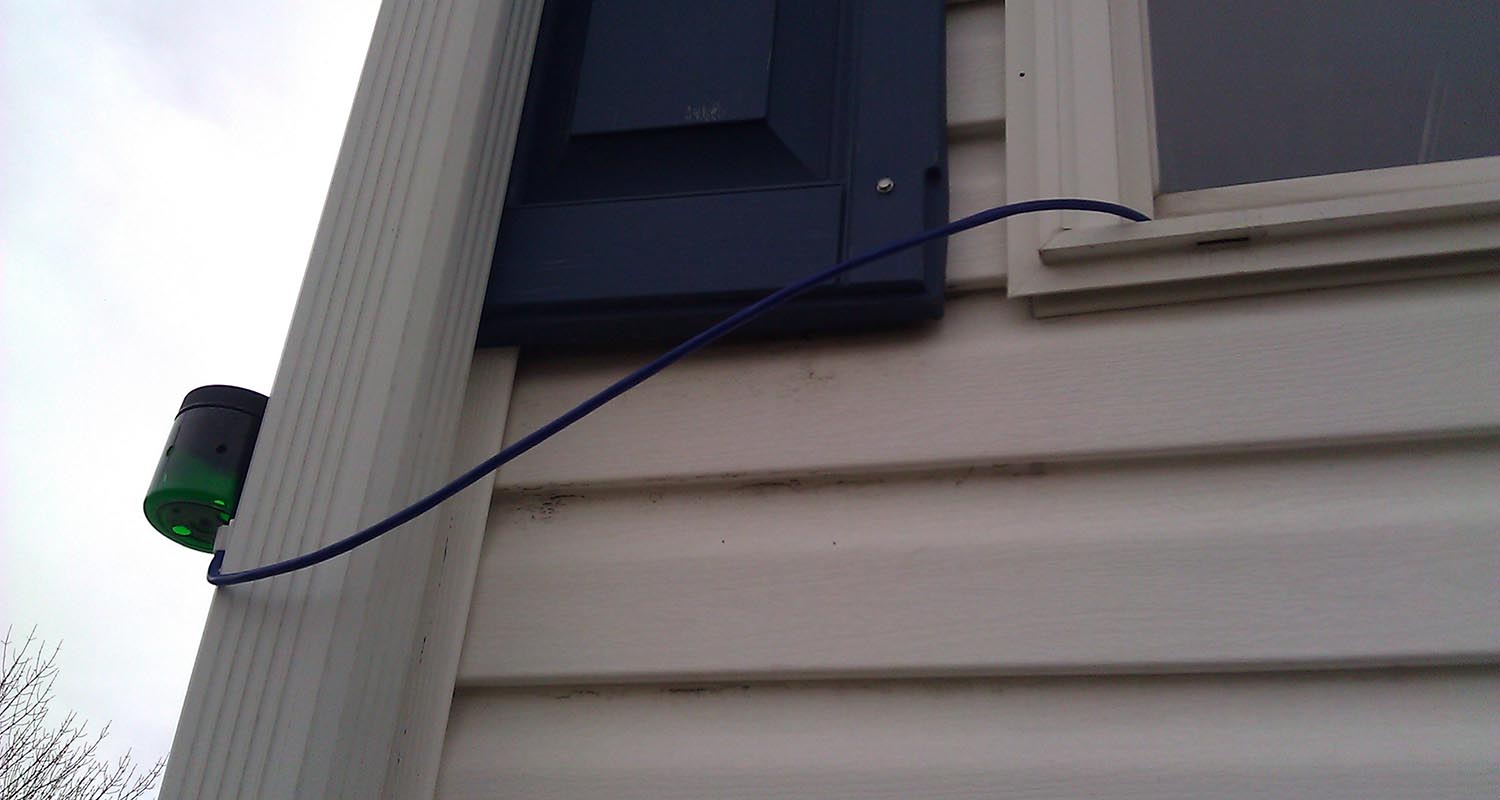
I had wanted to make a binary clock project since I saw one in a tech store. I decided to include a Sensirion SHT1x sensor because it offers great function and easy to control. To get the best readings, I put the sensor out in a plastic container protected from the elements but still able to get temperature and humidity measurements. I couldn’t get the correct rating of shielding for the sun but with smart placement and container I was able to get reliable and consistent measurements. I learned a lot about the rules for a device that is keeping track of data that could be used by mainstream outlets like the weather channel or news stations. Each of their remote stations undergo a whole list of requirements before the measurements are allowed or can be considered valid; requirements such as, no asphalt or buildings within 20m of the measuring device(s), it has to be properly UV shielded, and the list go on. I didn’t want to throw a lot of money at this project, so I just put mine in a smart location to get correct readings, even though there was a road close the house, I still got temperatures + a few degrees from that I saw from official readings; I guess there are rules for a good reason (ha-ha).
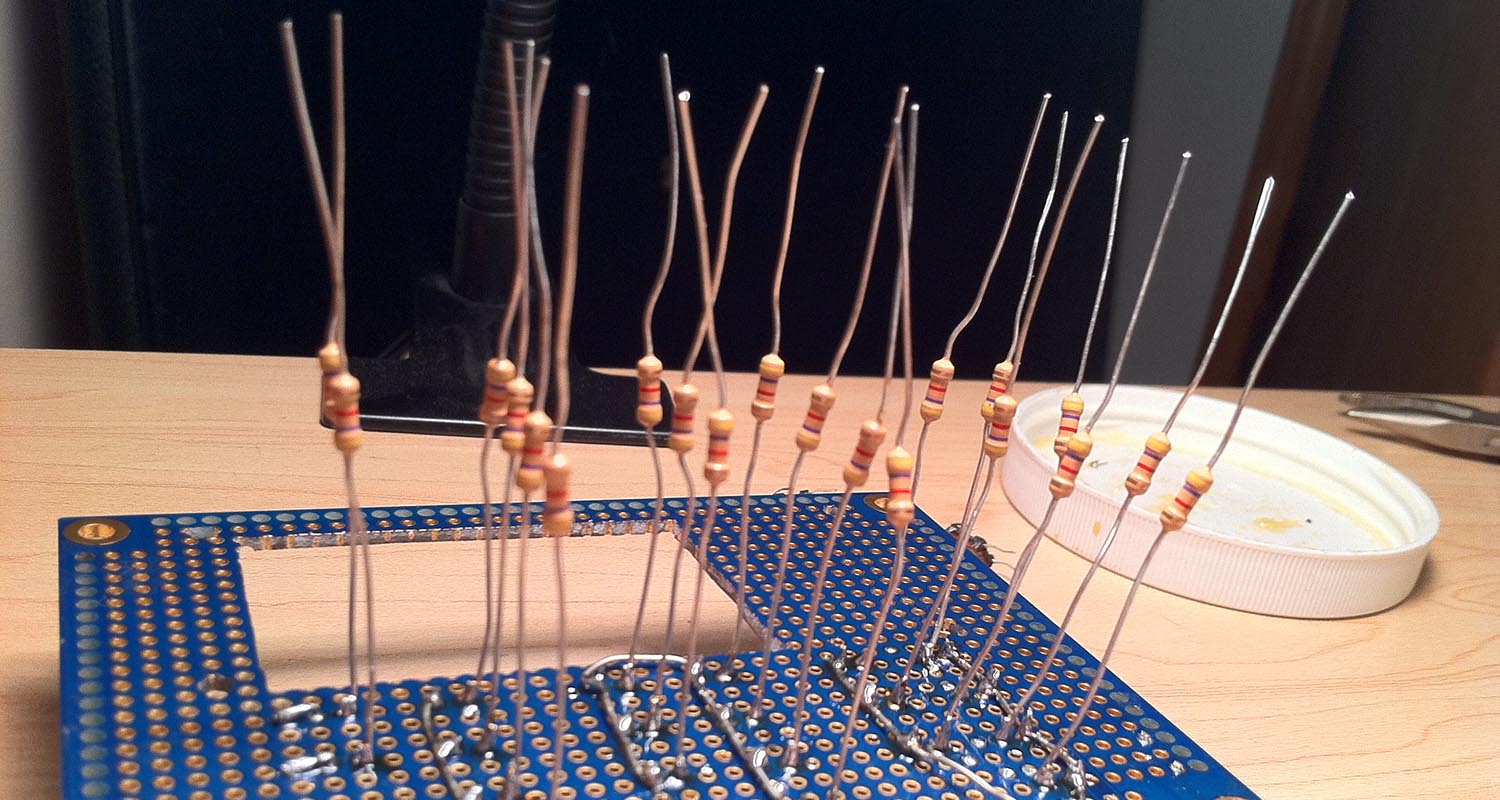
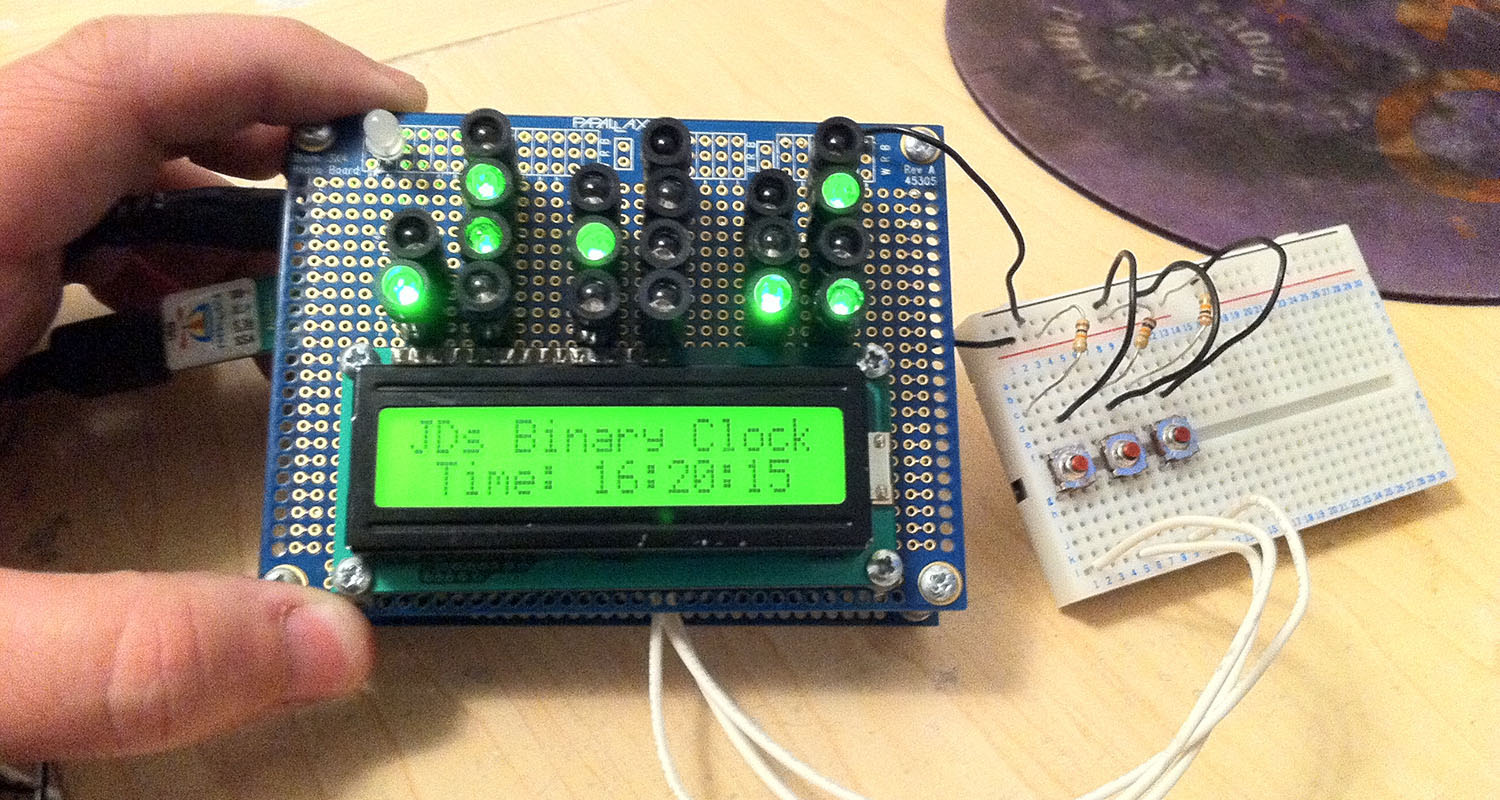
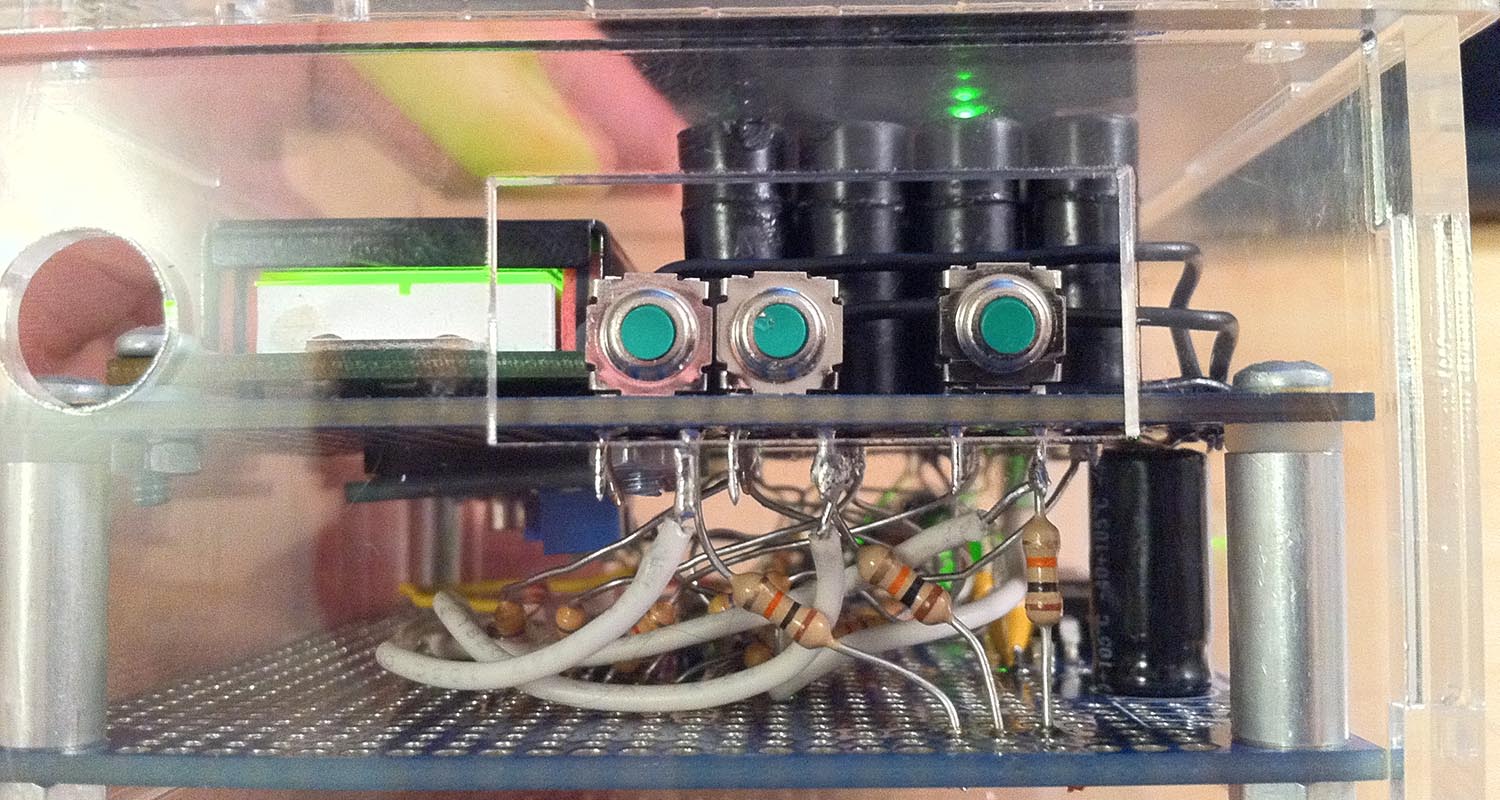
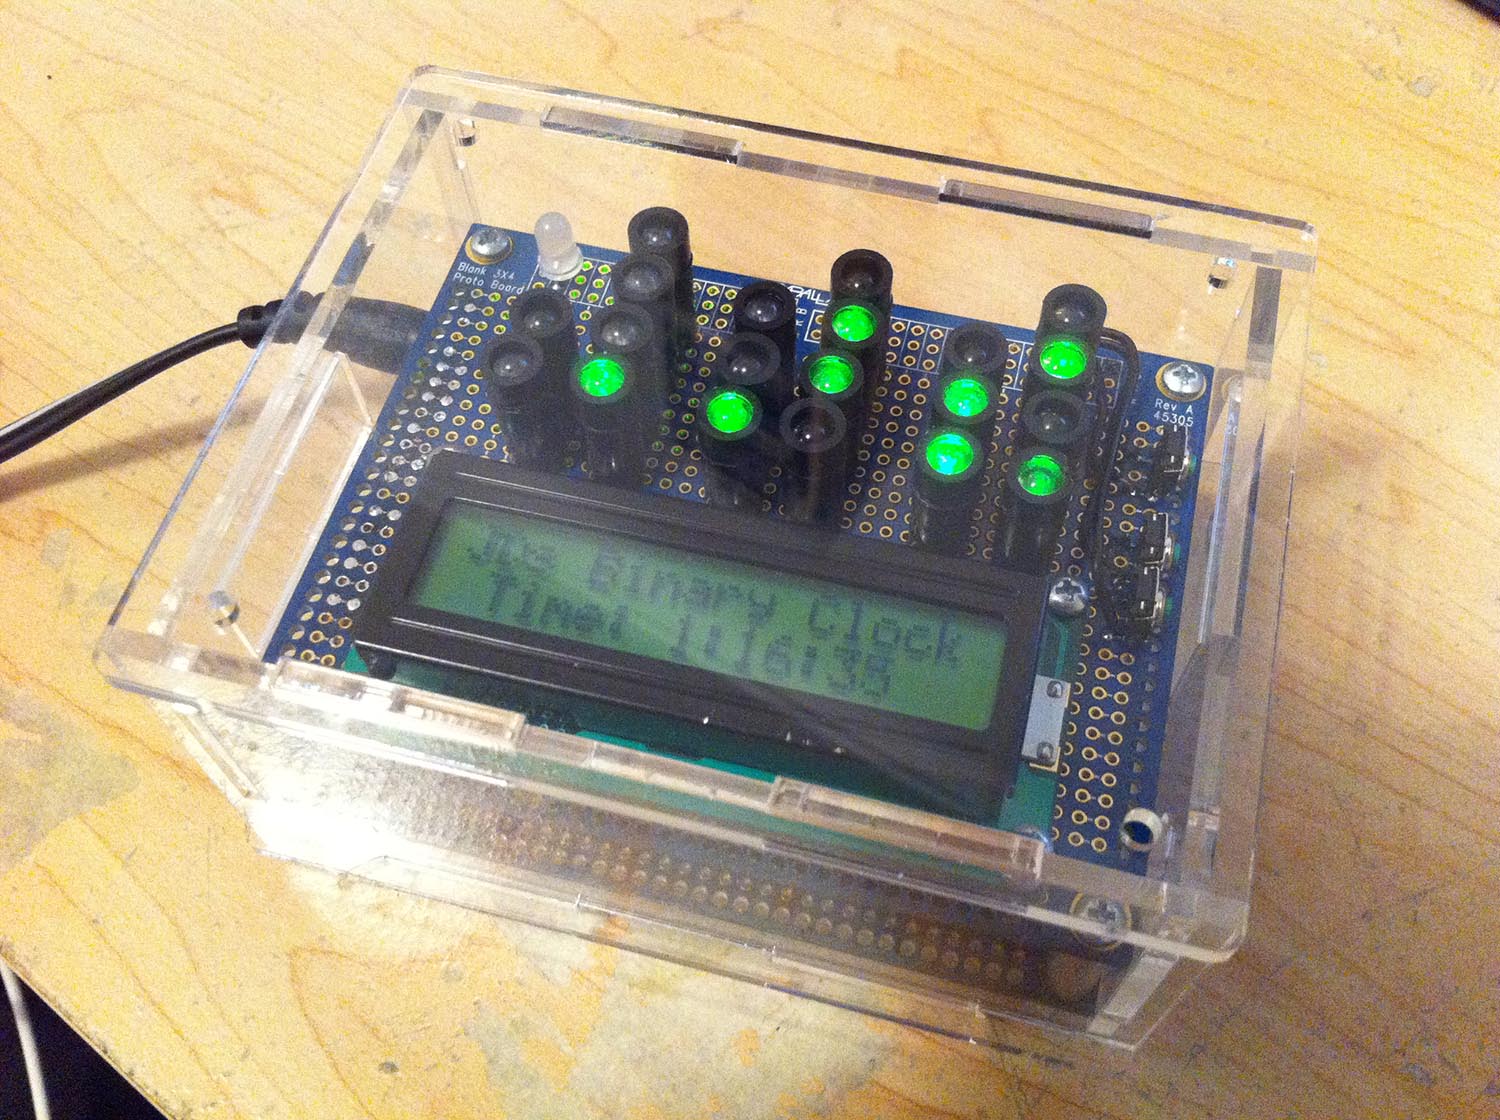
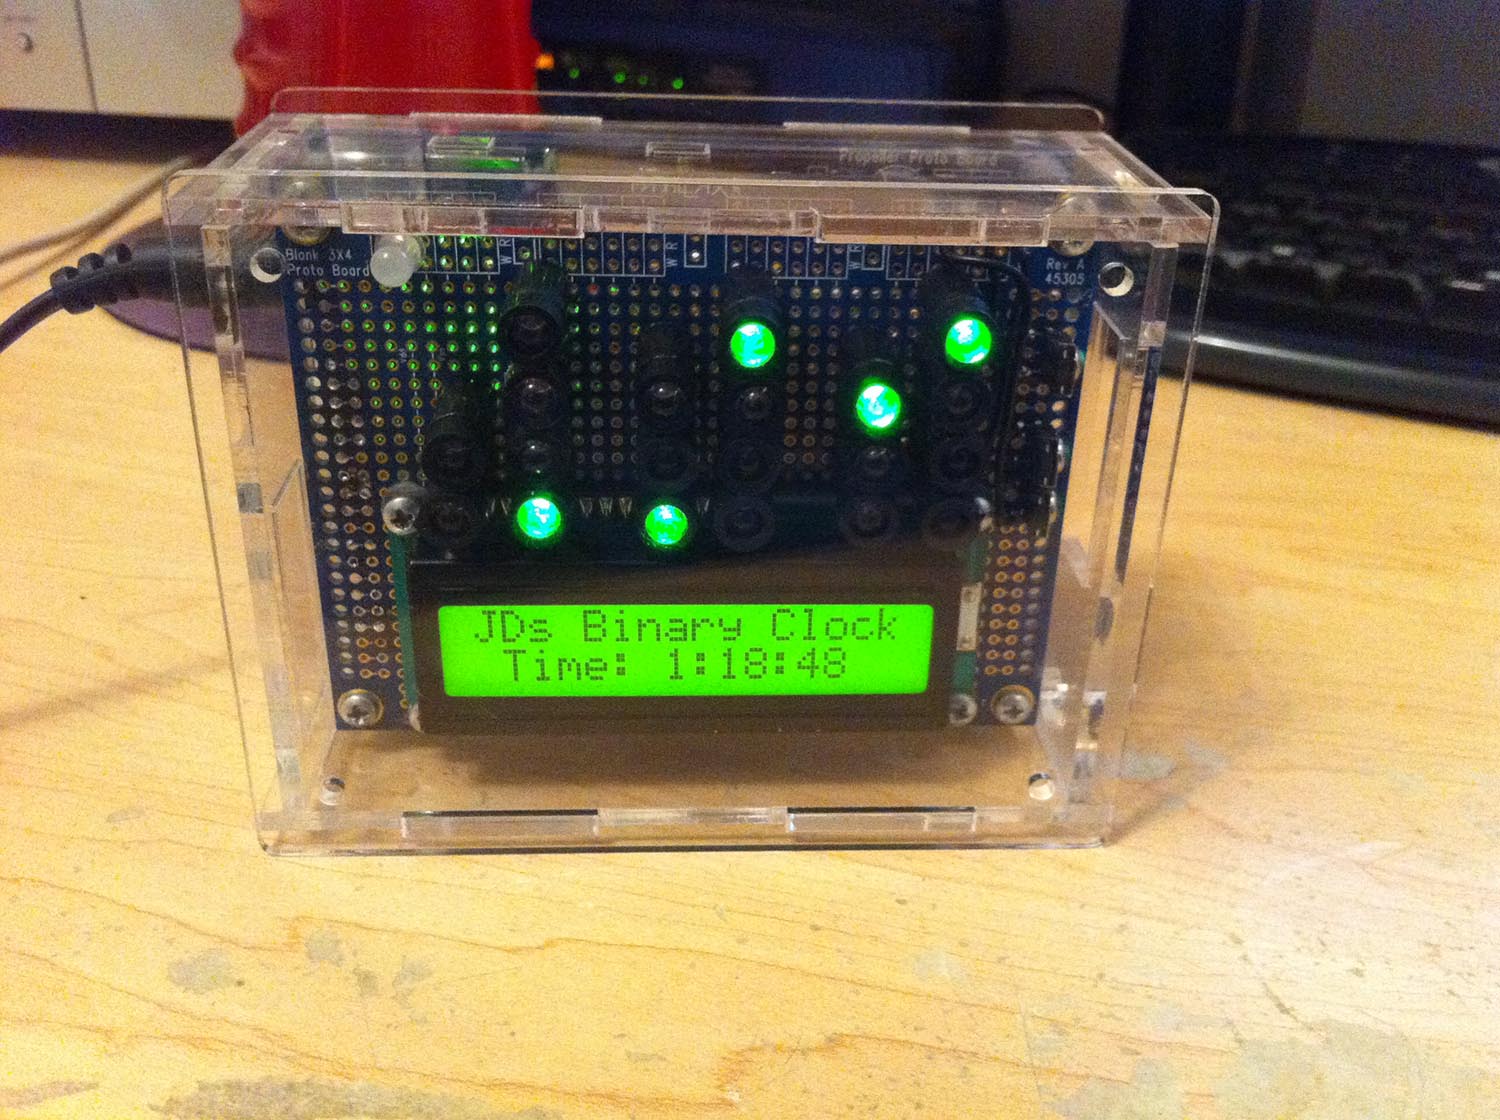
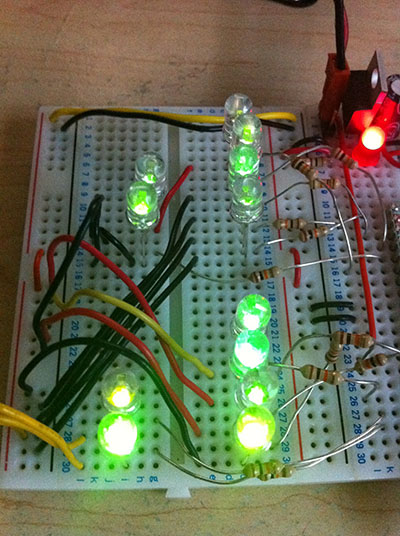
Once I had the Sensirion sensor measurements working, I needed to build the binary clock portion, and that meant ordering a whole bunch of LEDs (green) and resistors (4.7k Ohms 5%). I quickly learned that LEDs are made similarly but not the exact same. As you can tell from the picture, I had various colors of green to choose from. I had ordered some 100 LEDs and had to break them into batches and then select from those for each section because I didn’t have enough of any one color for the whole thing. It was much harder than I thought it was going to be, I figured I had ordered 100 of the same color LEDs, not 100 LEDs of about 10 different colors of green. I selected the best match for each section: Hour, Minute, Second and went ahead with the project. I think it turned out ok but might choose some different colors or order close to 1000 to make sure they are all the exact same next time.
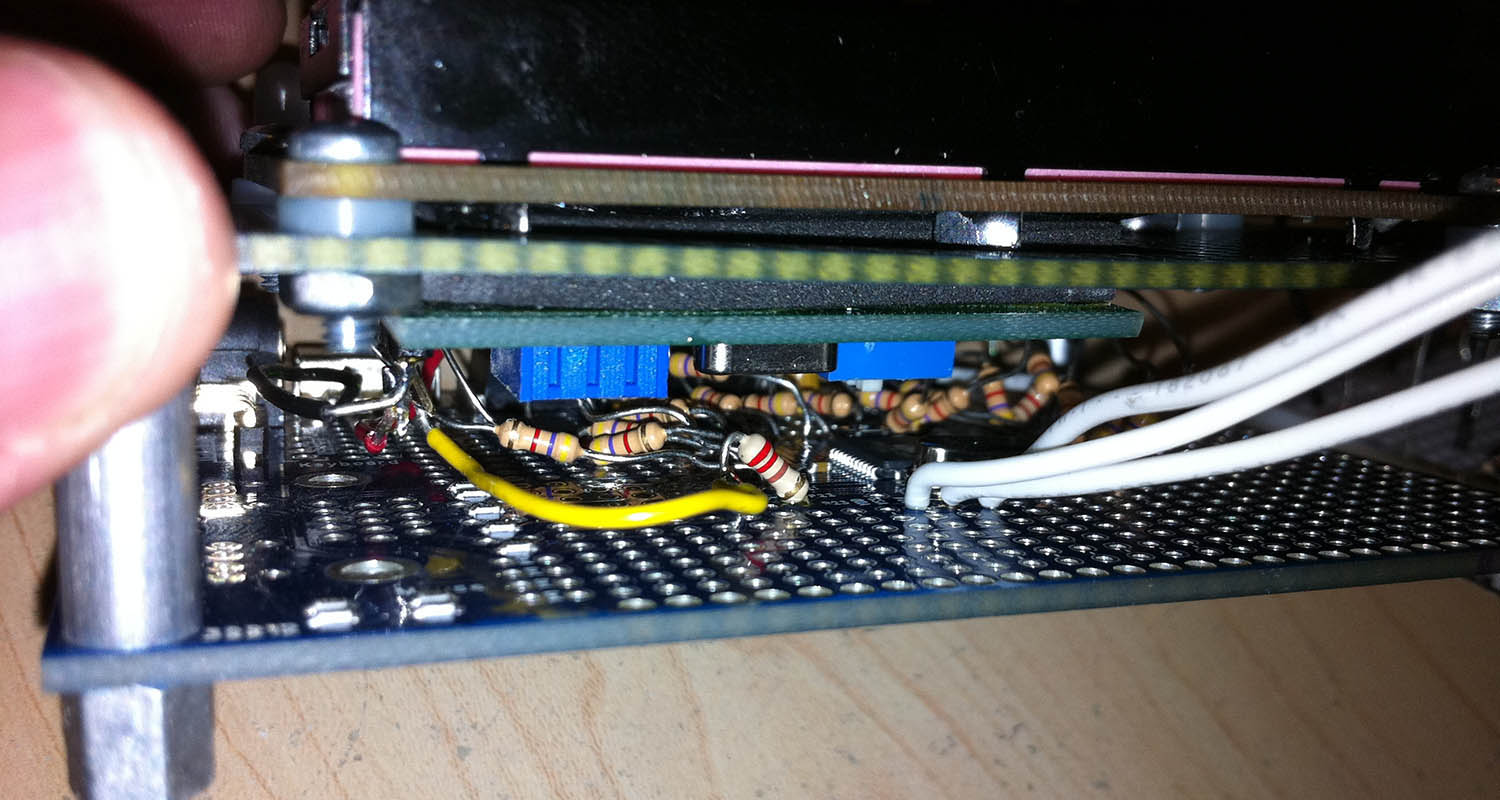
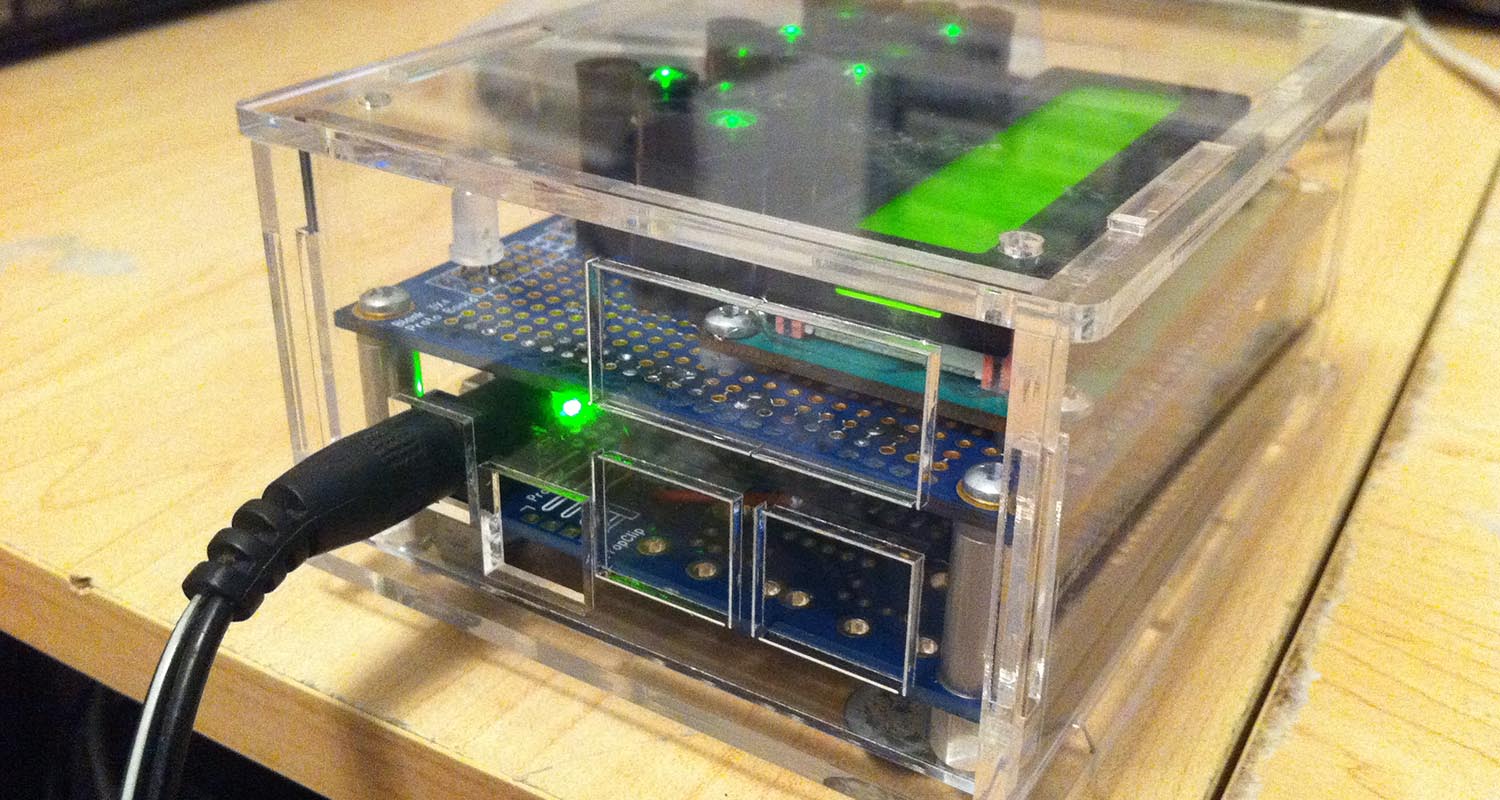
Once I selected the LEDs, I soldered everything together. I opted to keep many of the pieces installed via headers instead of direct, so I could remove them later if needed. I made a cable out of old CAT5 cable to connect the Sensirion to the base inside. It was housed in a plastic jar with holes in it. I kept it out of direct sunlight, as to limit UV interference. We had a perfect place in the kitchen right by our coffee maker, so anyone getting ready in the morning could catch what the weather was just outside. Colorado gets some cold winter mornings and it’s nice to know if you need to warm up the car before heading out.
With the weather station completed and working great, it sat in our window so we could catch a quick update and plan our morning accordingly. It has been a success and a fun build to do. I like the concept of datalogging and tracking weather, I think there will be more weather stations in my future as there are a whole host of different sensors I could use and data I could track, but for now, this one works.
Difficulty:
I give this a 2.5 stars because of all the soldering and testing it took to get the lights to work out the way I wanted them to. I am very happy I built this, and suggest it for anyone as it's a very, very useful item for around the house.