 JD Presents | Development In Reach
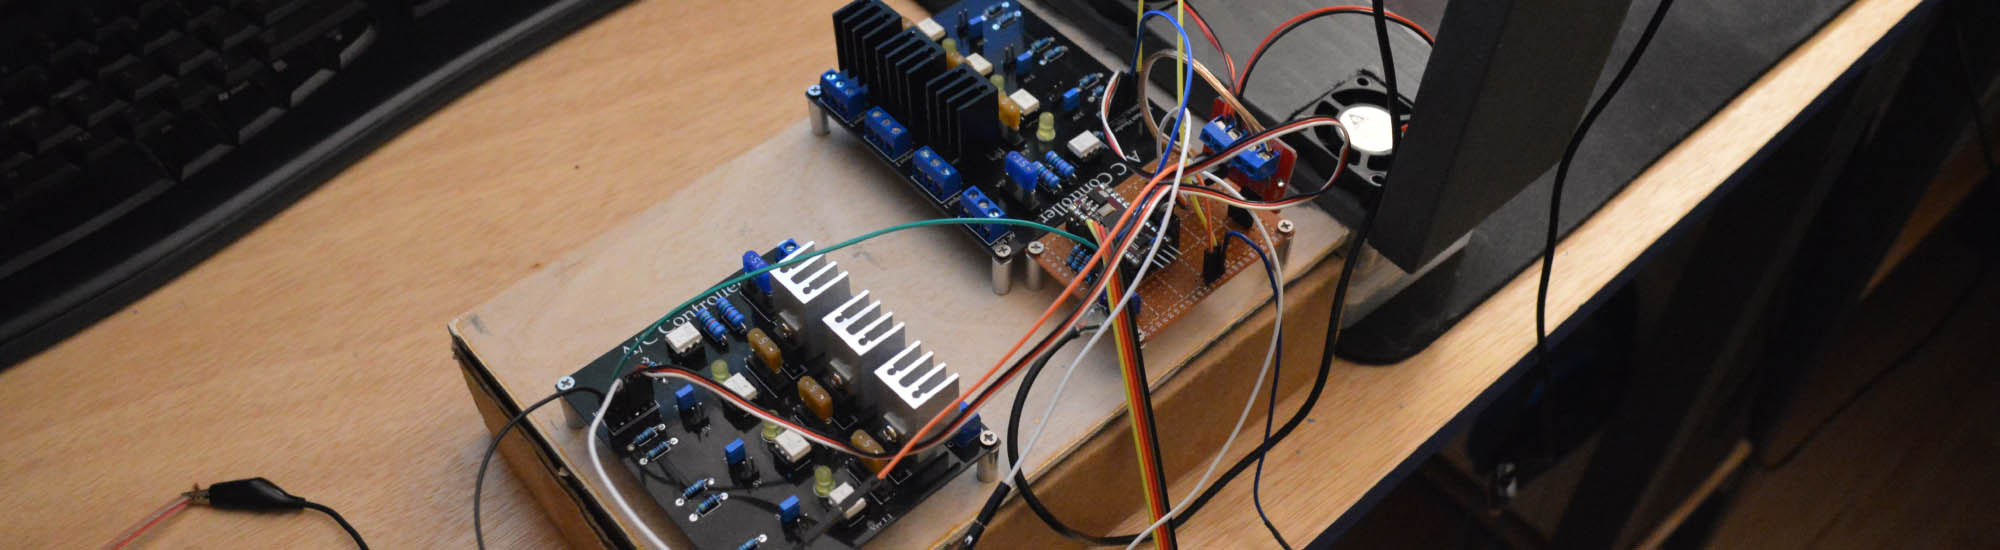
Desk Controller
Since I finished my A/C Controller board, I wanted to use it in a project. After learning about the parasitic power draws from desktop equipment, I figured this would be a perfect match. This project is broken up into 2 parts; a top controller and main controller. The top controller sits on top of my desk consisting of the physical controls (switches and dial) for each A/C output, and a main controller installs under my desk which hosts 2 A/C Controller boards and microcontroller acting as the "brains".
.JPG)
.JPG)
.JPG)
.JPG)
.JPG)
.JPG)
.JPG)
.JPG)
.JPG)
.JPG)
.JPG)
.JPG)
.JPG)
.JPG)
.JPG)
.JPG)
.JPG)
.JPG)
.JPG)
Top Controller:
The top controller features 3 2-position switches that function as on/off operations for high current draw devices such as the variable power supply, Oscilloscope, and special equipment, and a 3-position switch along in conjunction with a potentiometer to control the lighting outputs. The 3-position switch is used to select a channel (1-3) and the potentiometer is used to determine the intensity range (0V - 120V) for the select channel.
The first A/C Controller board is for high current draw devices controlled by the 2-position switches from the top controller. Each channel is regulated by some beefy BTA24 w/ black heat sinks. There are 2 fans that turn on anytime channels 1-3 are selected to keep the TRAICs from getting hot. I tested these channels with a heating element rated over 800W with no issues, so I feel confident they will operate safely for any requirement I need at my desk. The second board is primarily for lighting such as lamps and mood lighting. Im using some blue string lights for ambient lighting and have 2 more for optional lighting options. Since these are designed for lower power consumption lighting, I am using the BTA16 w/ silver heat sinks. The heat sinks are a bit of an overkill on these channels, but I like to keep everything cool by my workspace.
Being able to easily plug and unplug my test equipment was a top priority. I got some A/C outlets from one of my sources Tayda Electronics in Colorado and cut holes for the outlets to slide into. Looking back, I would have made the box slightly bigger with special compartments for cabling, but that will be for version 2 and I will make a custom PCB as well for that version. The solid wire I’m using doesn’t braid or move easily but works great for wiring in a 3D space because it keeps its shape.
While building the top controller, I saw an opportunity to create a shelf for my Wacom pad. I had to unpack my Wacom pad anytime I wanted to use it and that was a bit of a hassle. I just added a small shelf that was big enough on top of the top controller. Now I can leave it plugged into my computer and creating space for my equipment was the primary goal with making my new desk.
Difficulty:
I give this project 3 stars because there was a good deal of soldering small pieces, working in space constraining areas and the woodworking portions. I had to find ways to install A/C outlets in wood safely. As for my first application using my A/C Controller, I am satisfied with the results and the performance.