 JD Presents | Development In Reach
Motion Contolled Bathroom Light
This project was a present to my wife who enjoys night lighting throughout the house. I knew it had to be something simple, not take up a lot of space, and it couldn't interfere with daily functions. The concept was a motion activated bathroom light, but way better than those old timey A/C bulb devices everyone was used to. I wanted to create a wall unit and have lights use the water to illuminate the toilet without needing to turn on the regular lights. Anyone who has gotten up in the middle of the night and had to use those interrogation level vanity lights, knows that they are unwelcomed, and make you see stars long after you’re done; this project was to solve all those issue, as well as look really neat.
.JPG)
.jpg)
.jpg)
.jpg)
.JPG)
.JPG)
.JPG)
.JPG)
.JPG)
.JPG)
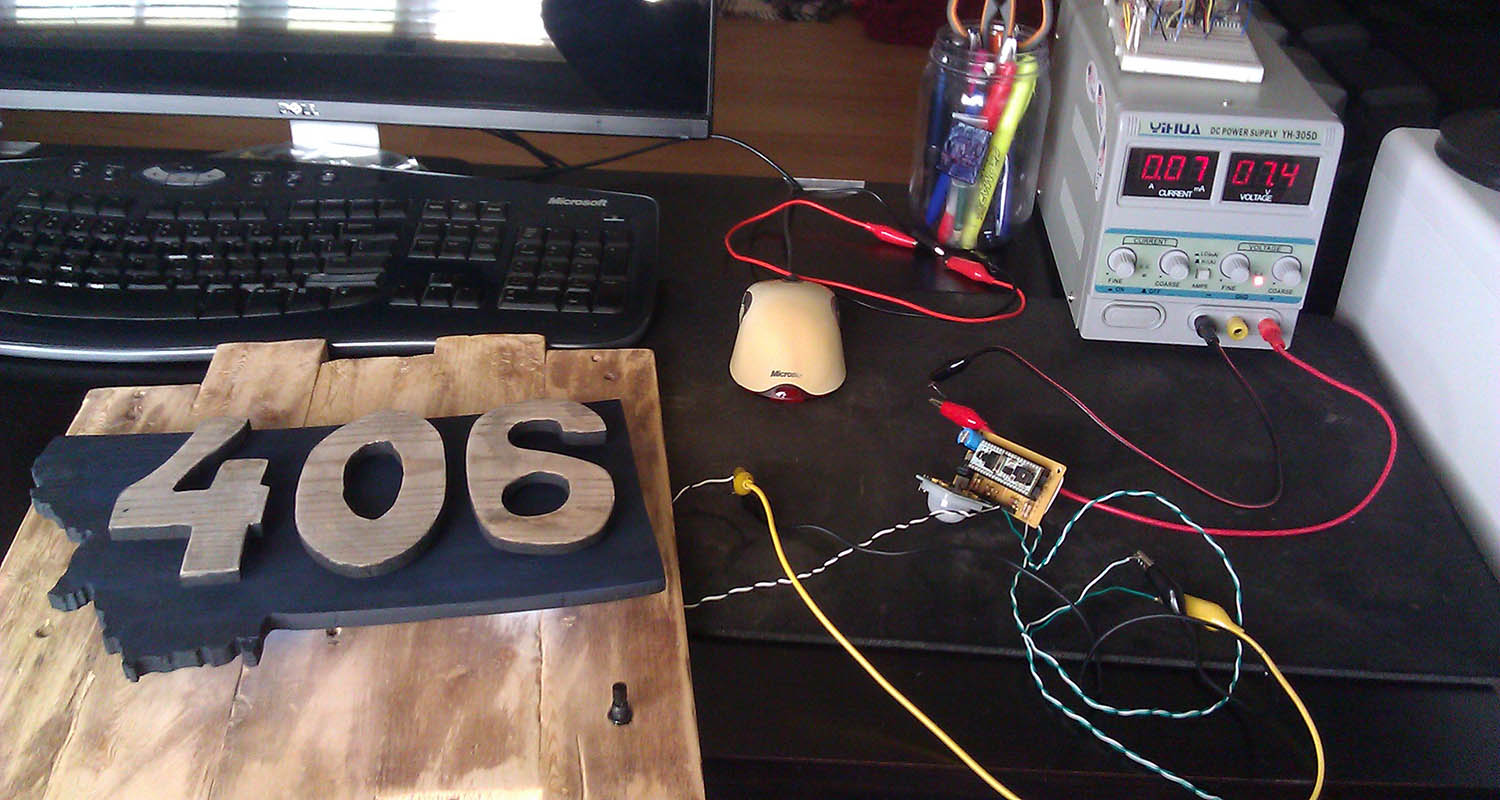
Initially, I came up with 2 LEDs for the seat, and ended up going with 3 held by some tape (I know, super space age), that way if I needed to make any changes it could be done easily and without any long term damage. A final run of this, I would use a router on a new seat to create embedded LEDs covered with a clear epoxy to seal it, but the simpler method was the correct way I think this time around. I have worked with PIR (proximity) sensors before in several projects, it's a simple infrared sensor that picks up any motion within a 60-degree field-of-view and toggles an output pin that can be easily read by a microcontroller. The LEDs are controlled through a 2N3904 NPN transistors. The 2N3904 NPN transistor is great for microcontrollers because it lets a low voltage I/O pin (3.3V) control a much higher voltages and current draws.

To control everything, I used my go-to microcontroller a Propeller. The programming was easy enough, just watched some inputs and then toggled some outputs for a determined set of time. The time we went with was about a minute, and I think that has worked. The white Montana state lights are controlled by a push button that toggles the LEDs when pushed, there is no timer for those. With no timer on those lights, it allows anyone with taking an early shower, or someone that has a headache or not feeling well, can still see in everything in the shower, but not have the blaring vanity lights going.
All and all, it came out great, everyone has been very happy on operation and how it looks. If you want to build it and have any questions, feel free to reach out and I'll give you any tips to help. Anyone with a laser cutter could easily create different designs and patterns for this project. Next version of this, I would make it far more detailed using a local maker that has a nice sized laser cutter and see how detailed I can get it. I would also like to put the power cable inside the wall instead of having it hang down.
.JPG)
Difficulty:
I give this 3 stars mainly because the woodworking needed to make the 406 pieces and attaching LEDs to them small enough to create ambiance but not so big as to be seen. The coding only took me all but a day to fine-tune with some simple testing, and the soldering was easy enough, however, the LEDs took some real finesse. All in all, the project took a few days with some minor changes. Night goers are all happy with the blue lights, and the white shower light works perfectly for what it was intended for.